Installation
Windows
-
Download the latest version of the “Tada Client” application from the following: https://tada.center/


-
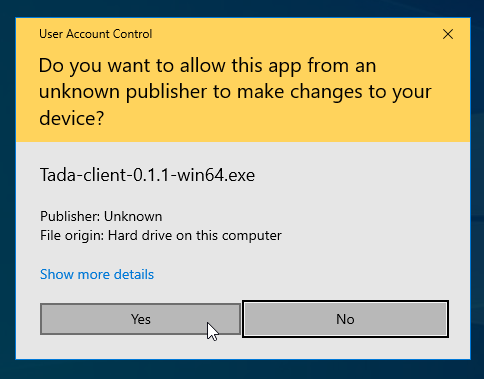
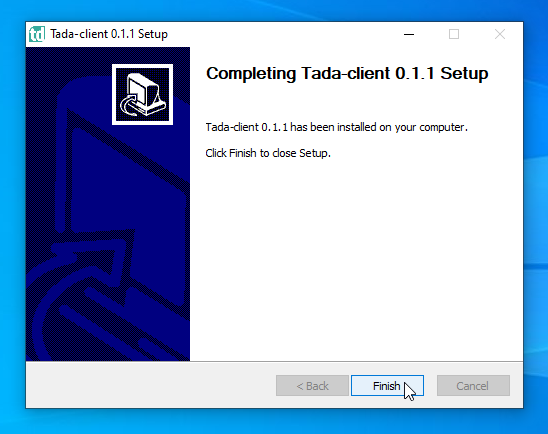
Go through all the steps, We will leave all the options as default.

-
Nice, Tada Client is now installed.
Ubuntu / Debian based distros
-
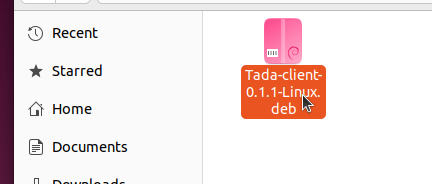
Download the latest version of the “Tada Client” application from the following: https://tada.center/

-
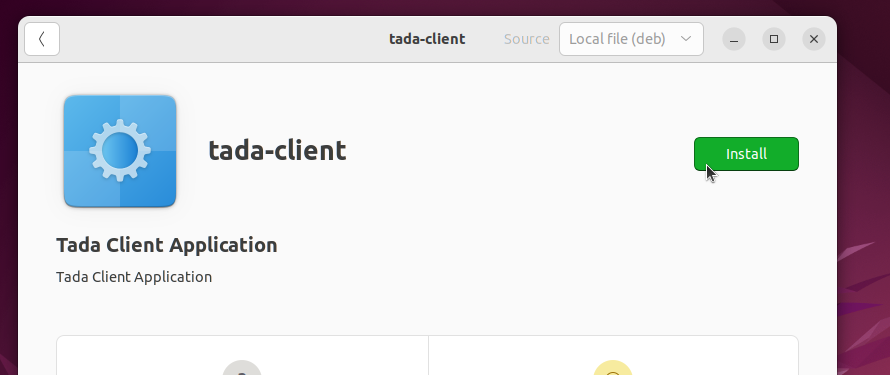
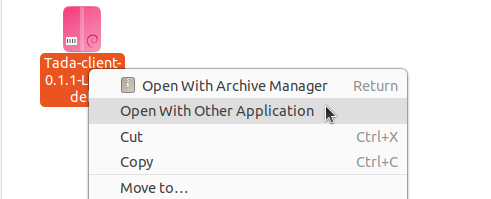
Right click on the files and chose the “Open With Other Application” option.

-
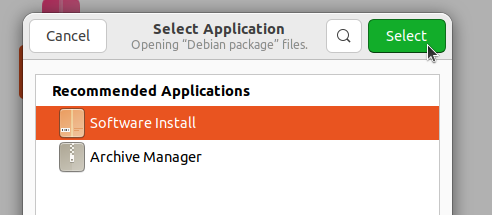
Chose the “Software Installer” option, then click on the “Select” button.

-
Nice, Tada Client is now installed. you can now open Tada Client in the “Application” menu
MacOS
-
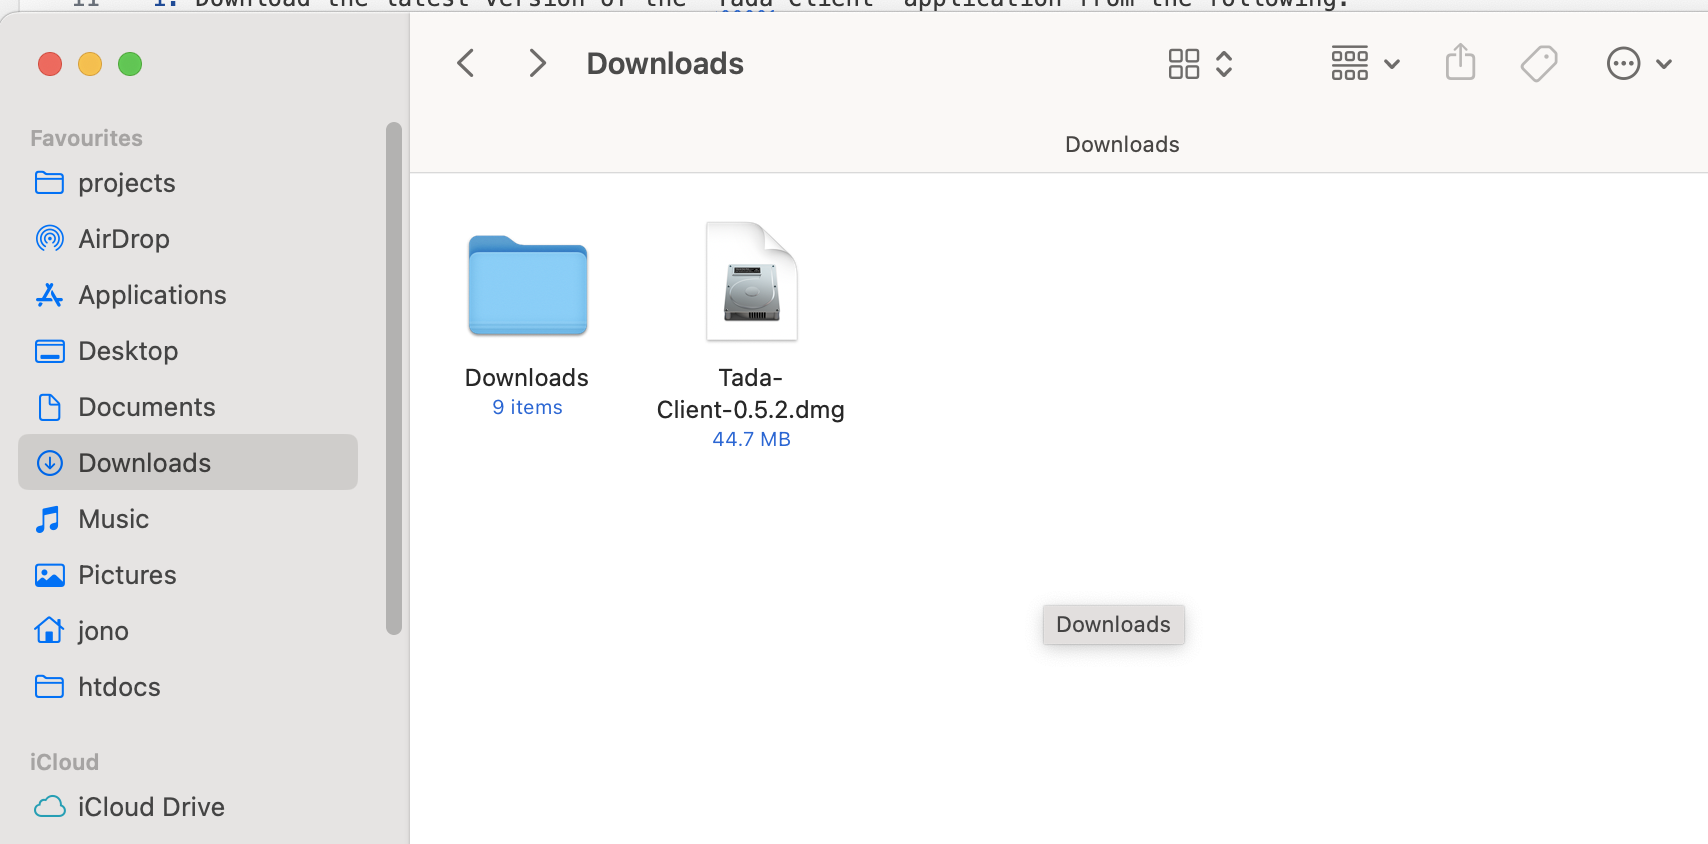
Download the latest version of the “Tada Client” application from the following: https://tada.center/
-
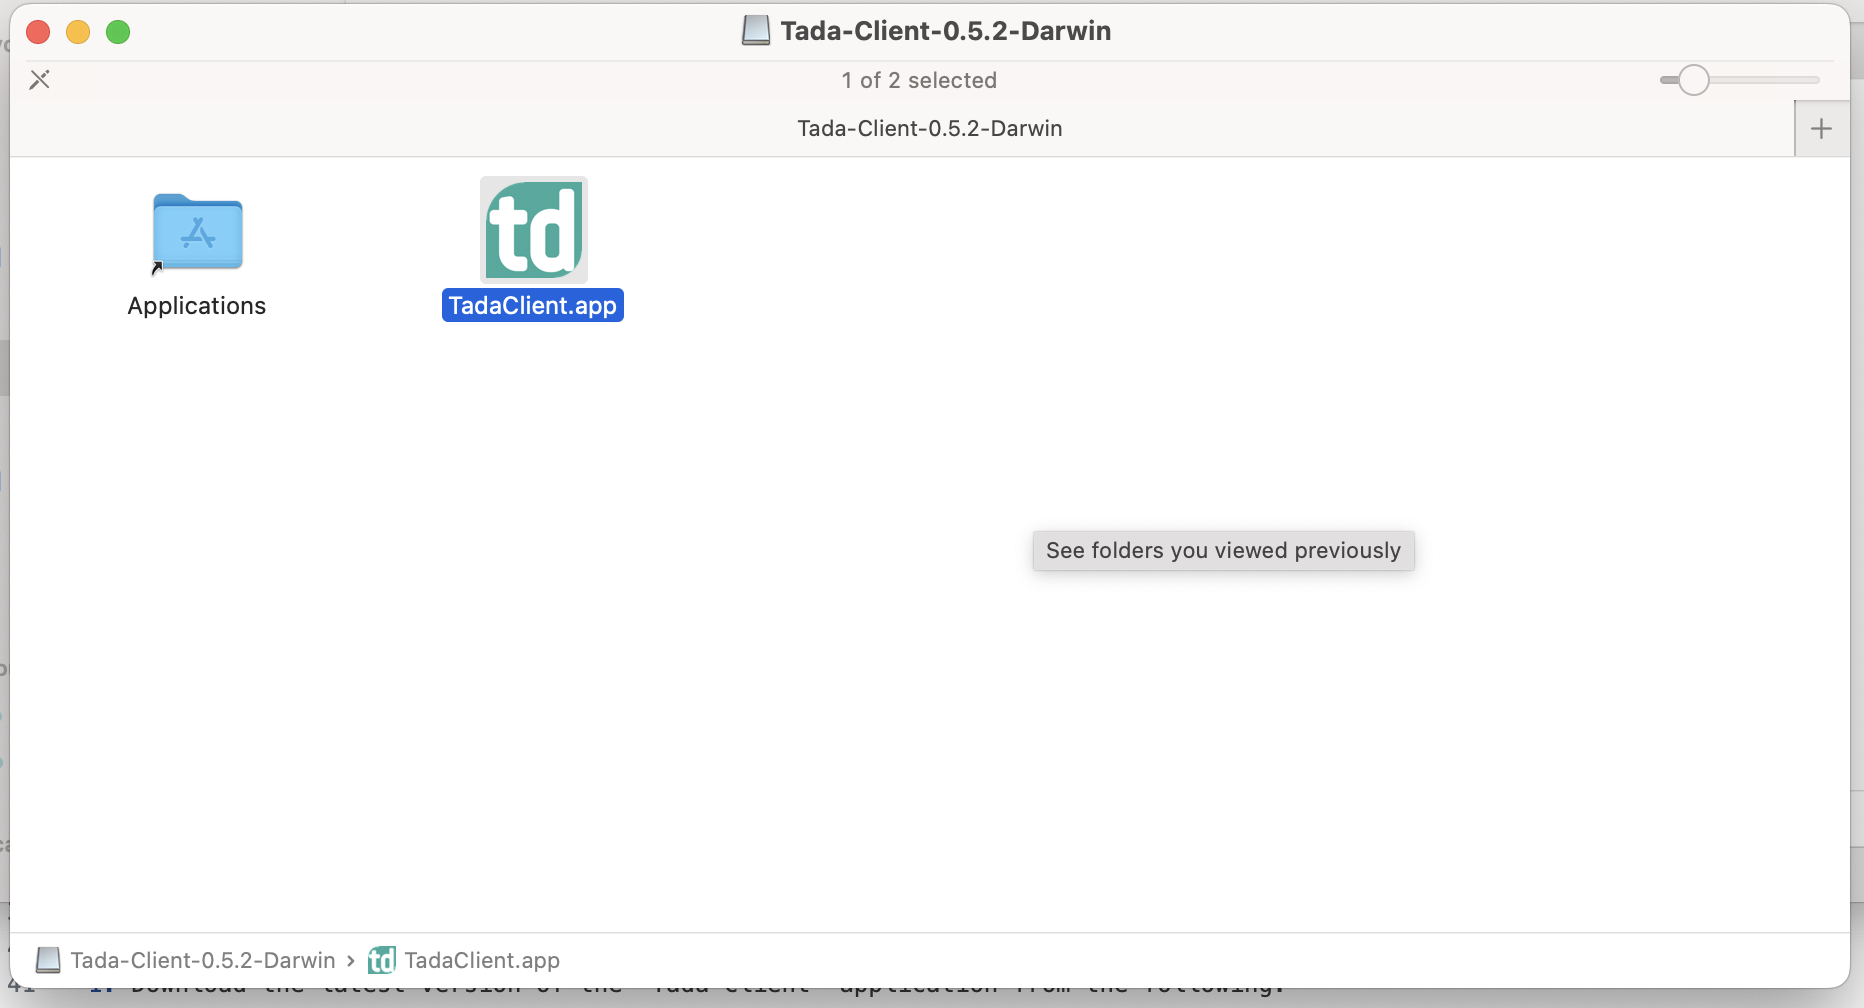
Drag and drop the “TadaClient.app” file on the “Applications” folder next to it. You have completed the installation, you will find the “TadaClient” app in your “LaunchPad”.

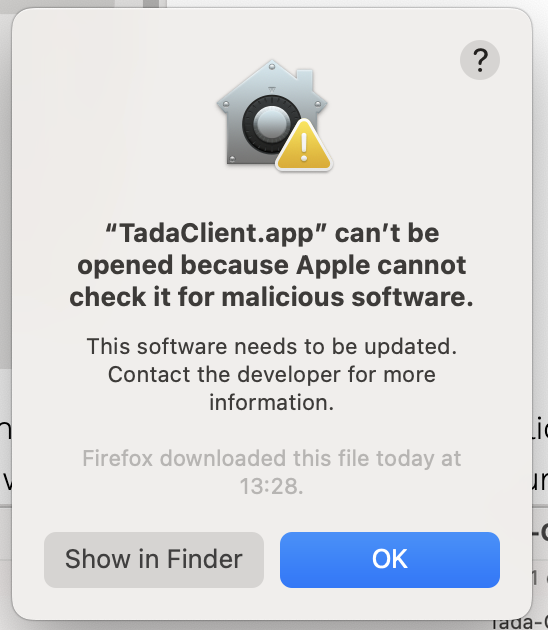
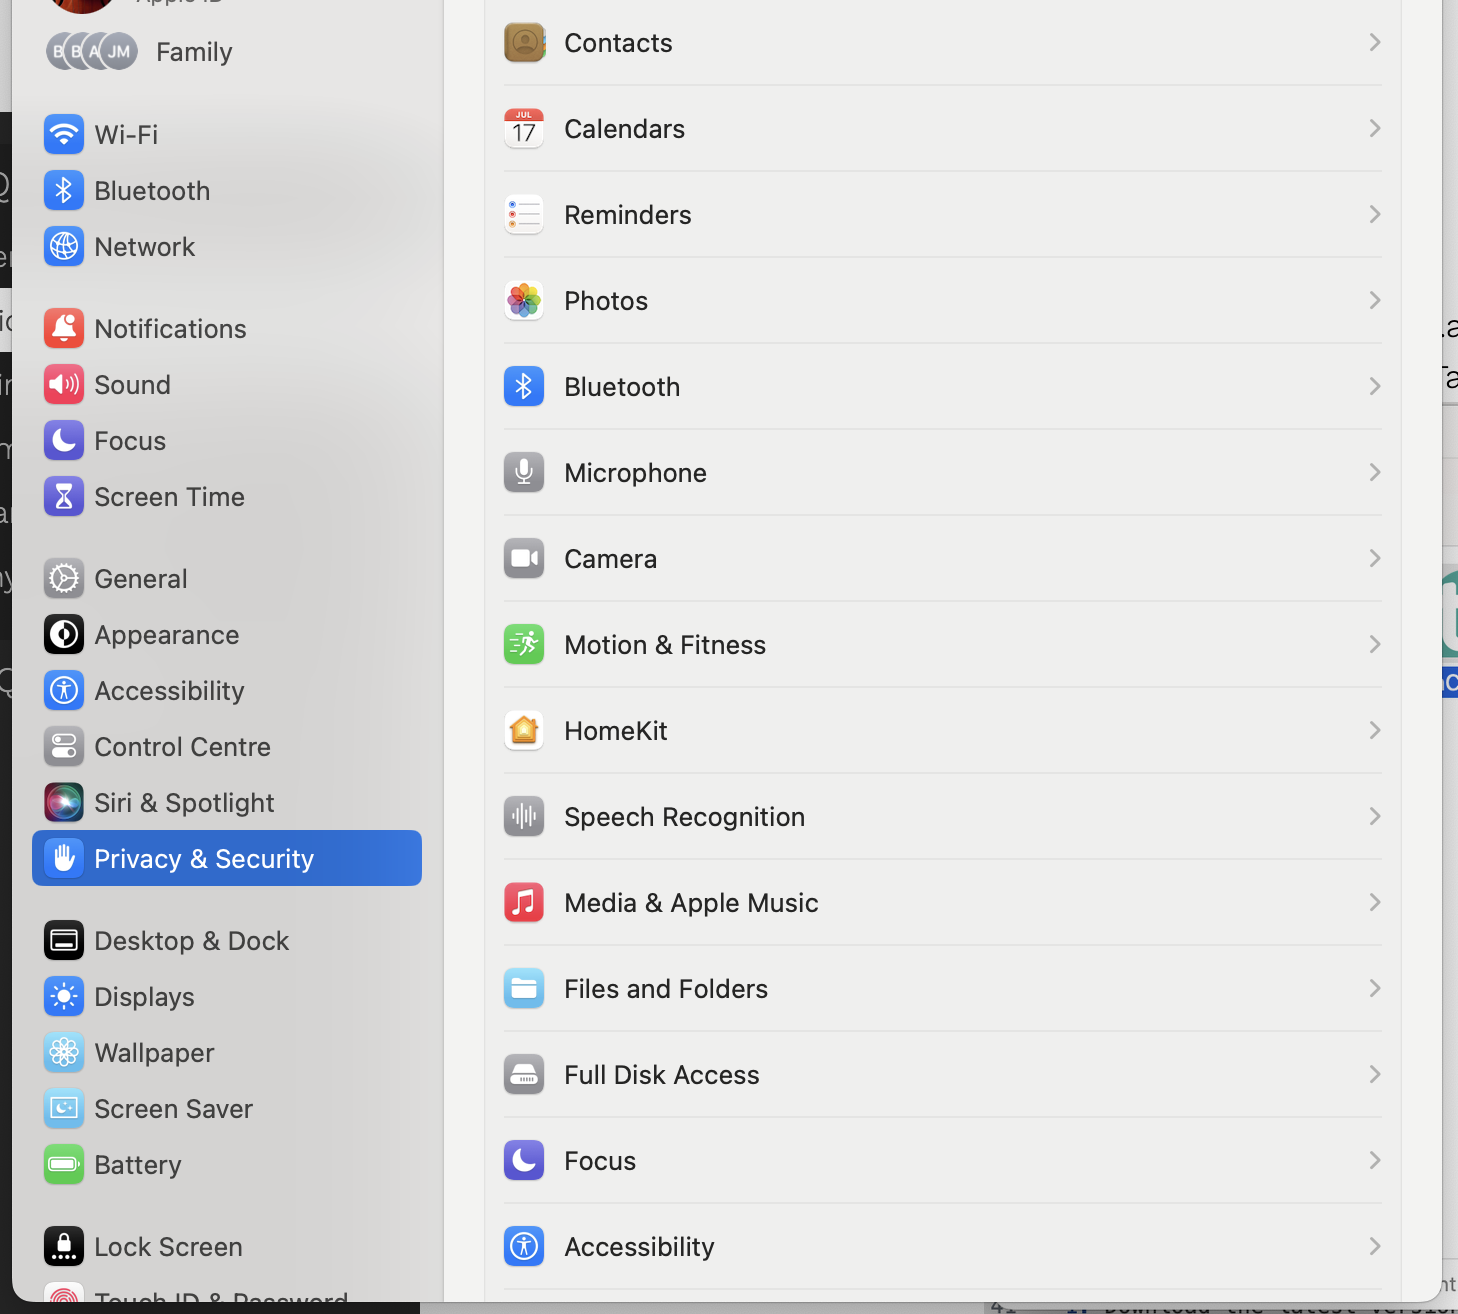
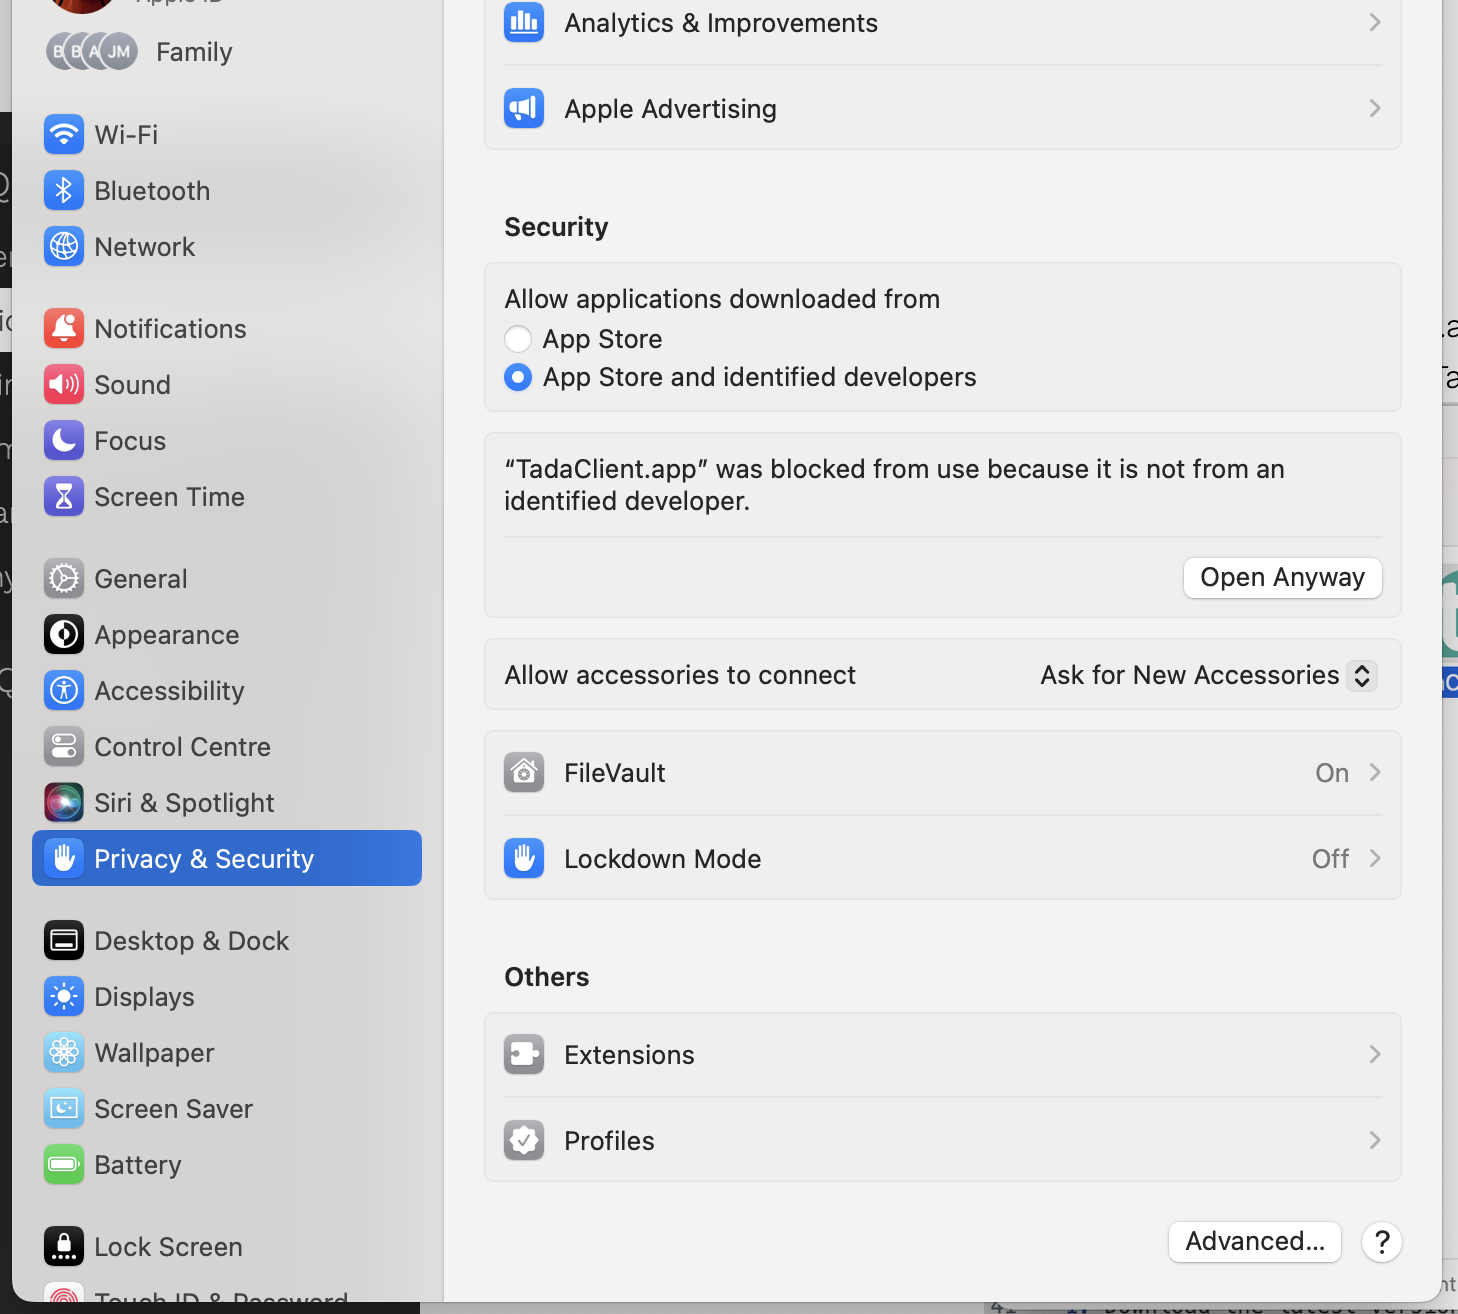
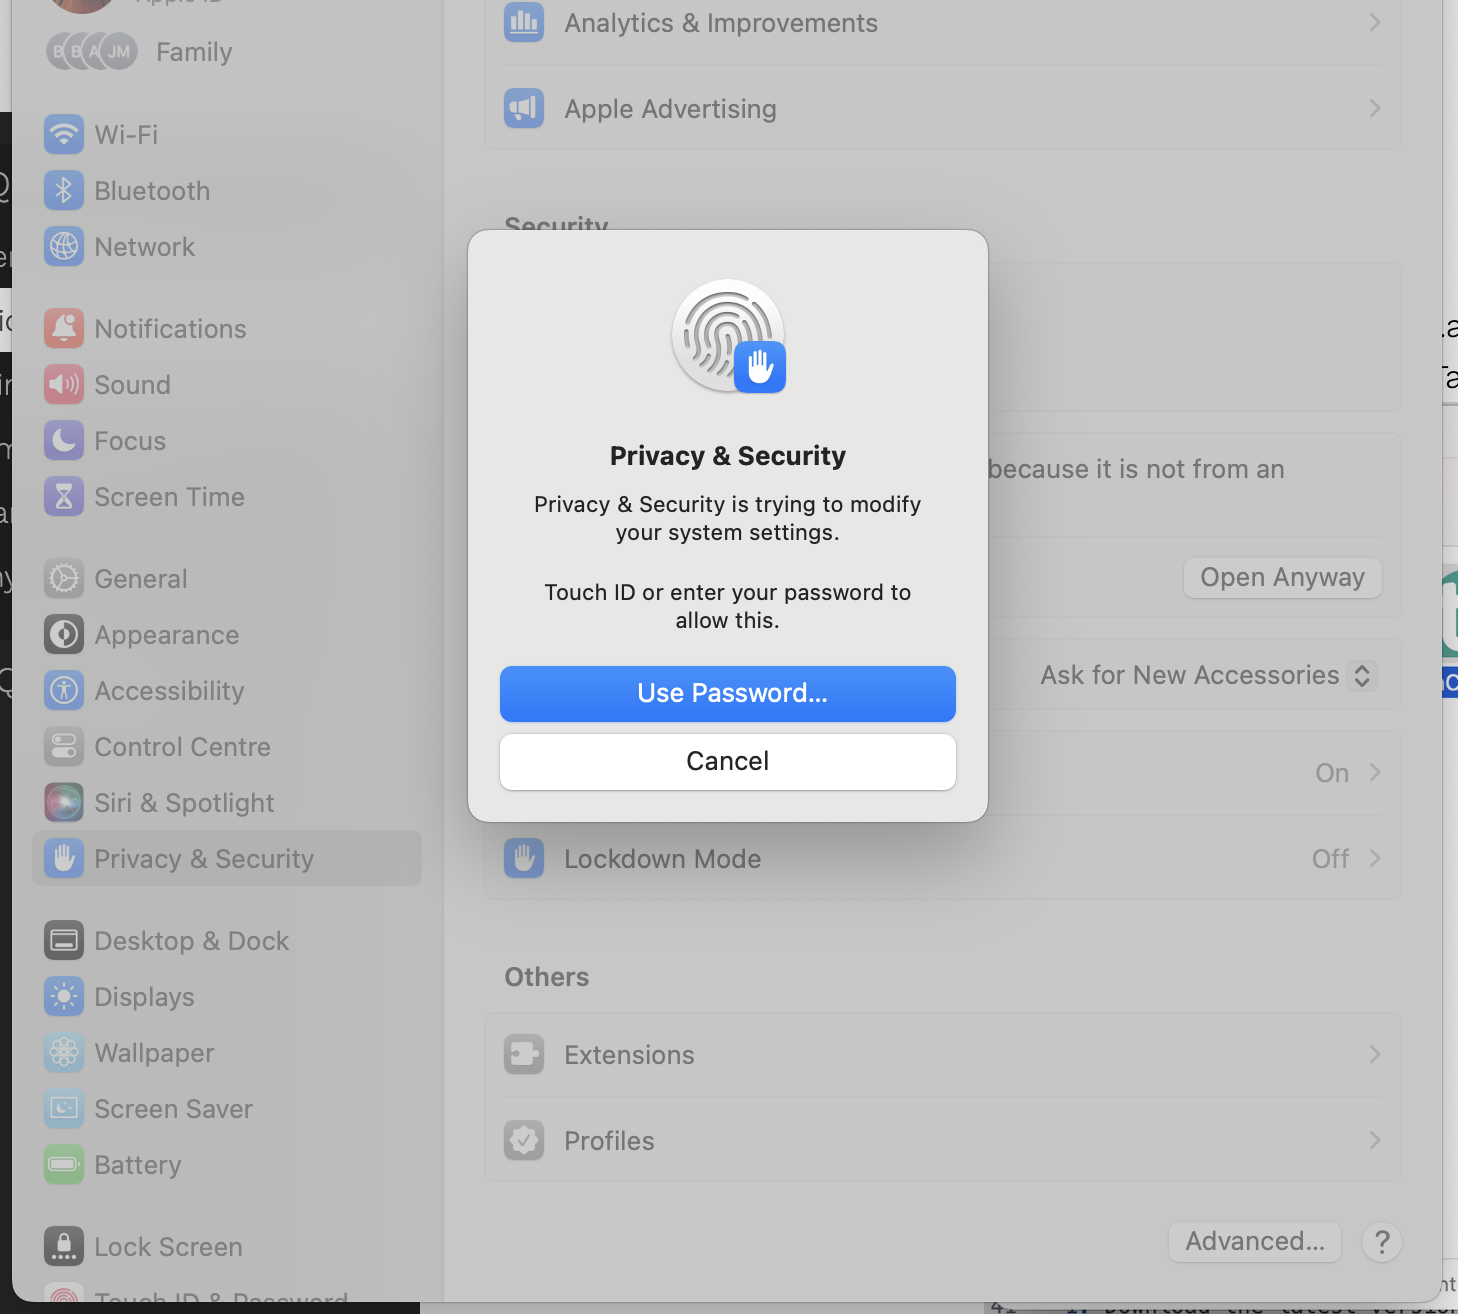
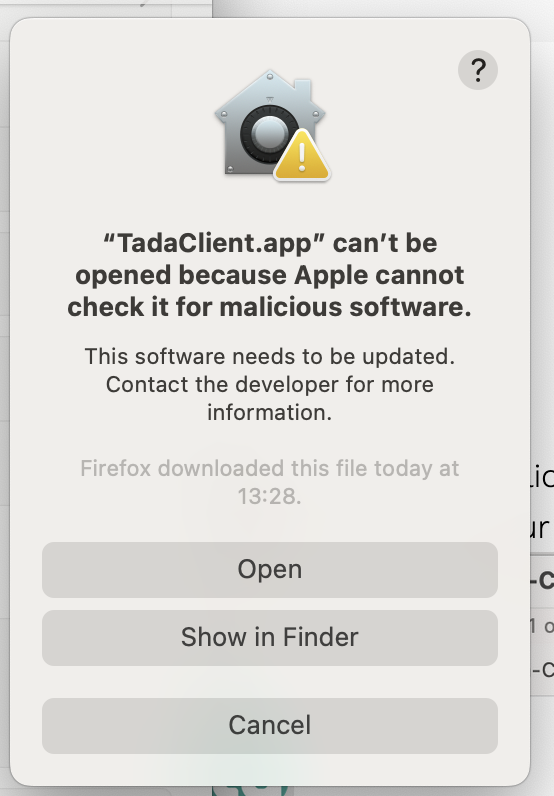
If you run into an issue where MacOS blocks you from opening the application.
You can do the following:
