User Management
Creating Users
To create a user, click on the “Users” menu ans select the “Create User” option.
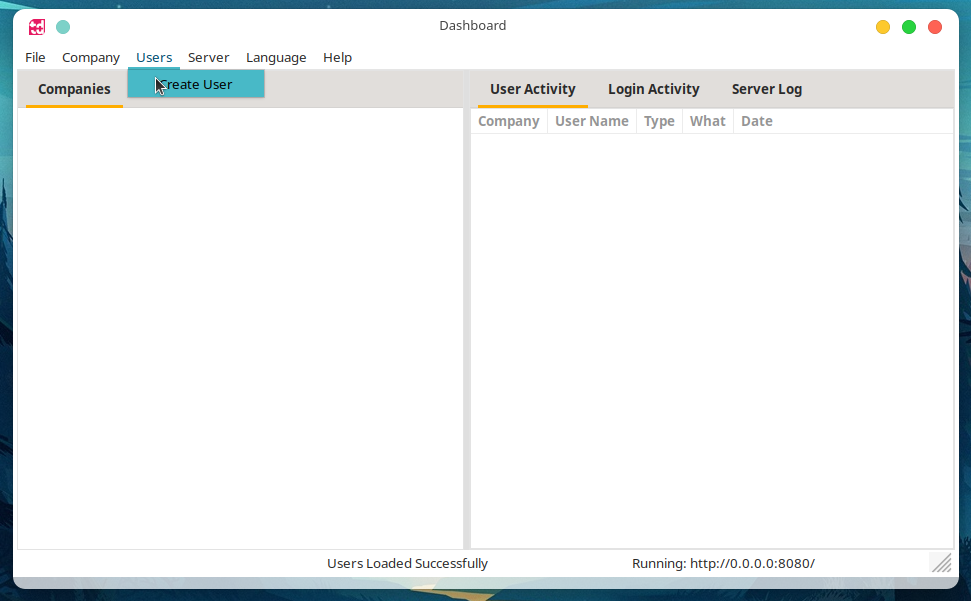

A “create User” dialog will open.
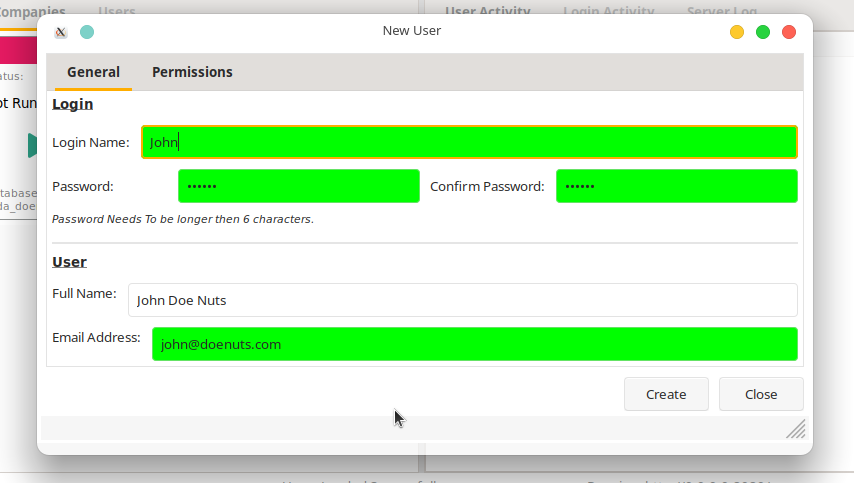
Under the “General” Section. Fill in the users:
- Login name - The name the user will use to login.
- Password - The password the user will use to login, needs to be 6 characters or longer.
- Full Name - The users full name.
- email address - The users email address.

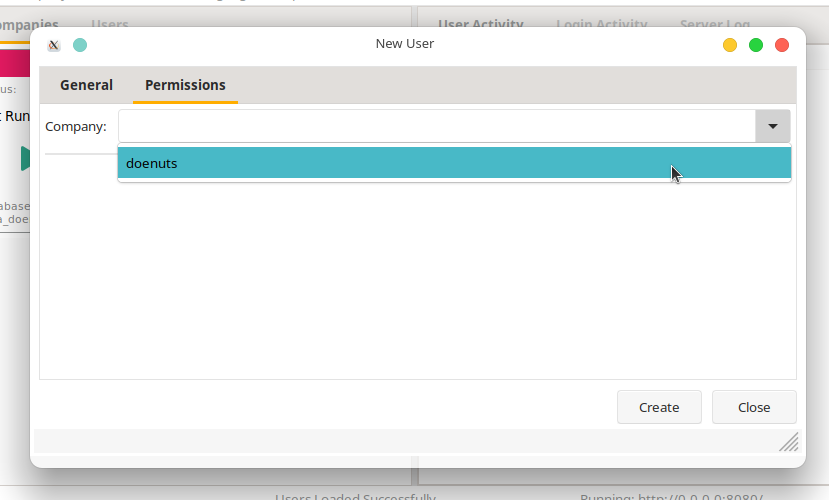
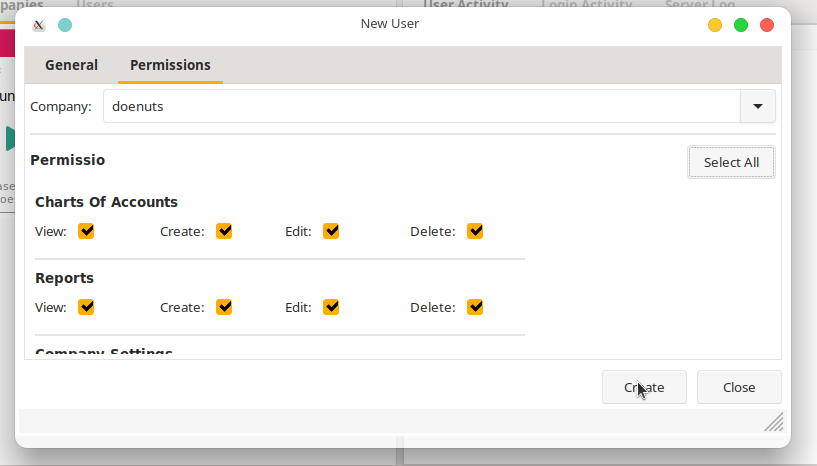
Under the “Permissions” tab. Select the users’ permissions for each company: - First select the company in the drop down list.

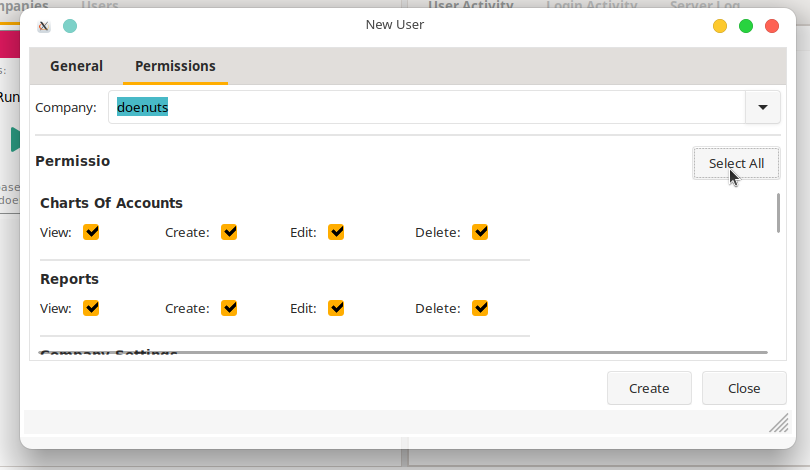
- Select the desired boxes to enable the specific permissions you want to give to the user. As this will be the Administrator account, we can give John full permission by clicking on the “Select all” Button.

Click the “Create” button to confirm creation.

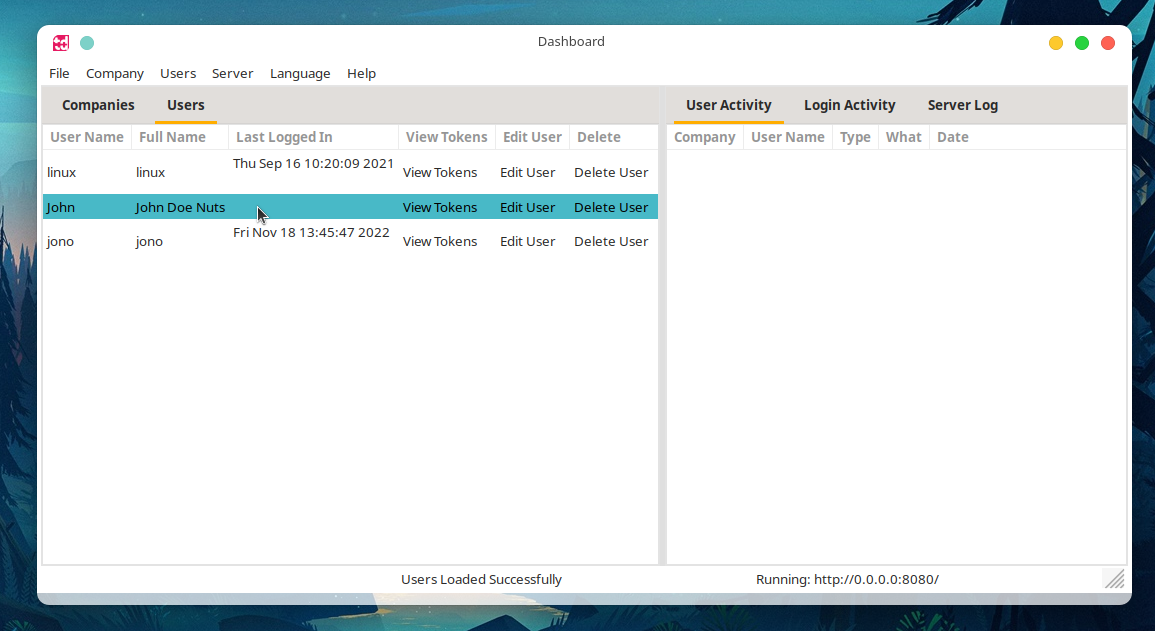
You will now see the new user under the users tab on the dashboard.

Editing A User
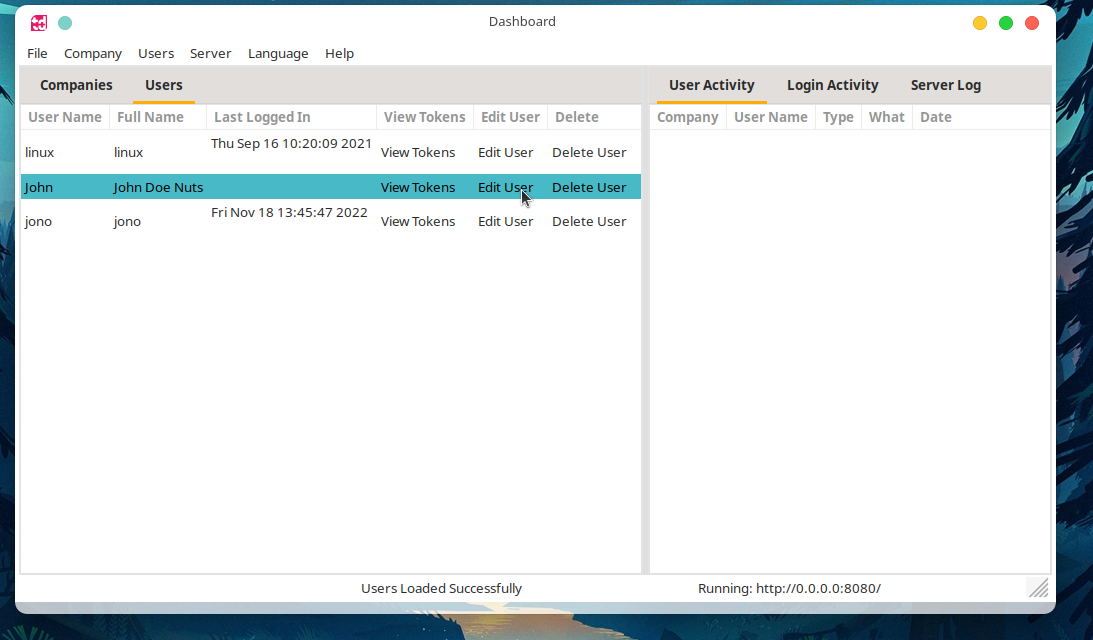
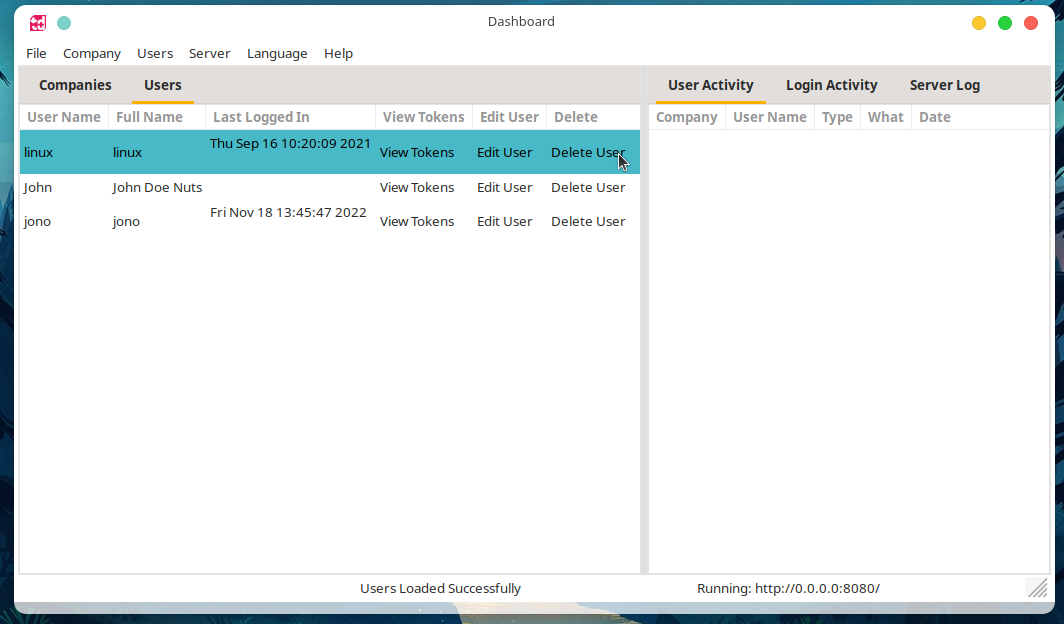
To edit a user, Click on the “Edit User” button under the “Users” tab in the dashboard.

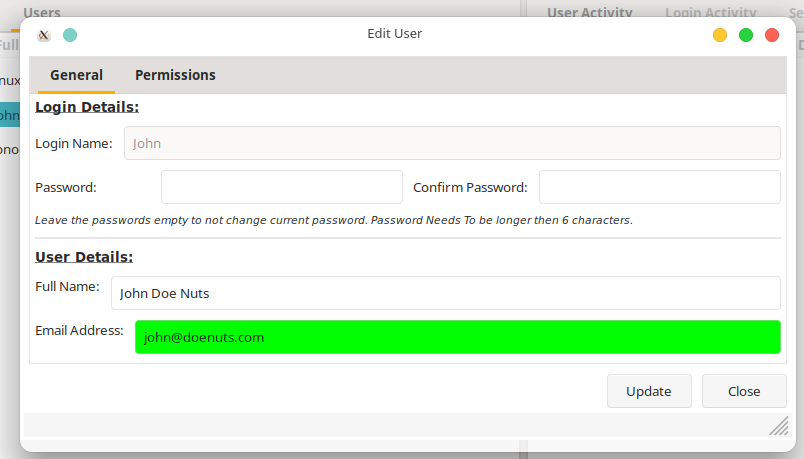
The edit user window will open where you can edit the users details and permissions.

Deleting A User
To delete a user, Click on the “Delete User” button under the “Users” tab in the dashboard. Confirm it to complete the deletion process.

Creating A User Access Token
Access tokens are used to join a client to your server. It is a unique token that is used to identify a user to the server.
A Token is only allowed to be activated once and can not be reused on multiple devices.
To see how to activate a token see login-window
So for instance, if a user needs to use Tada on a PC, Mac and a laptop, you will create three Tokens for the user.
The main reason behind this design choice is to isolate each connection to the server. So for example, if the users laptop is stolen or compromised, you just need to delete the access token that was used on that device to stop any connections from the device.
To create a user token, Click on the “View Tokens” button under the “Users” tab in the dashboard.
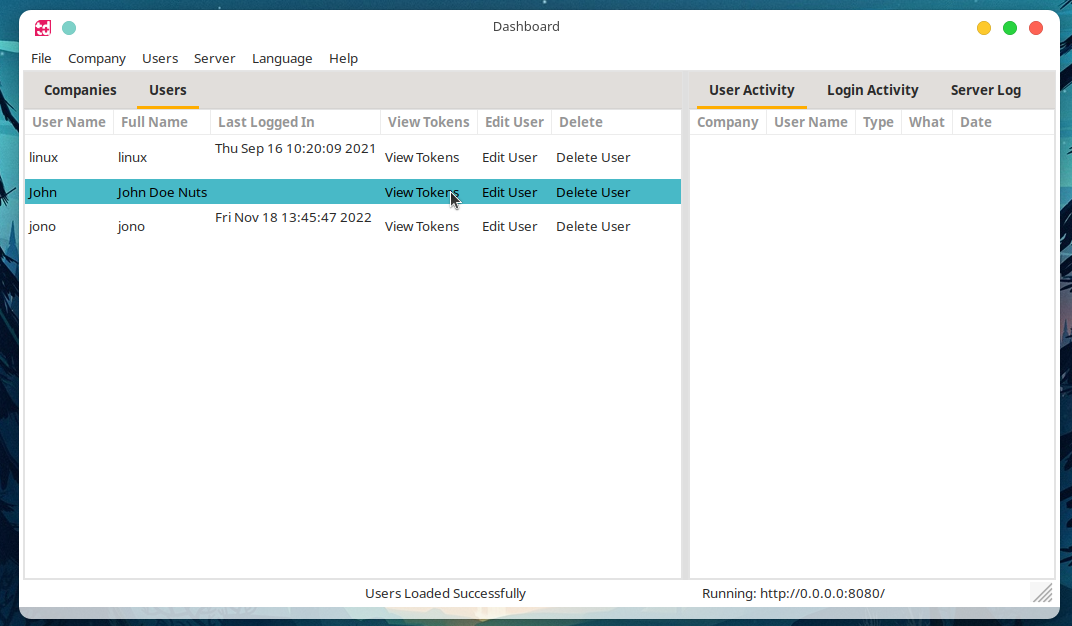

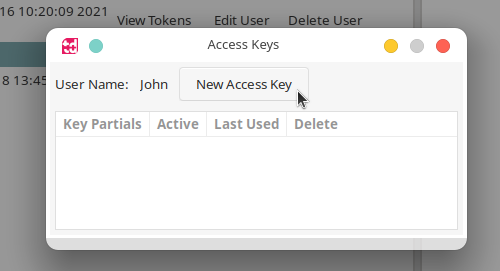
A new window will open where you will see all existing Tokens. Click on the “New Access Key” button.

A new window will open with password that will be used to open the “Token” when you import it into the users device. It is a one time password and will only be used to to open the Token. Once the Token has been activated, the password will not be used again.
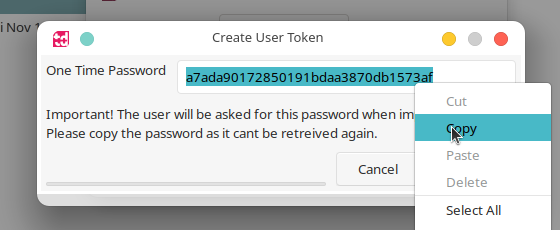

Once you have safely stored the Tokens password, Click on the “Create” button to continue. You will be asked where to save the “Access Token”. In this example, we will save it to the Desktop.
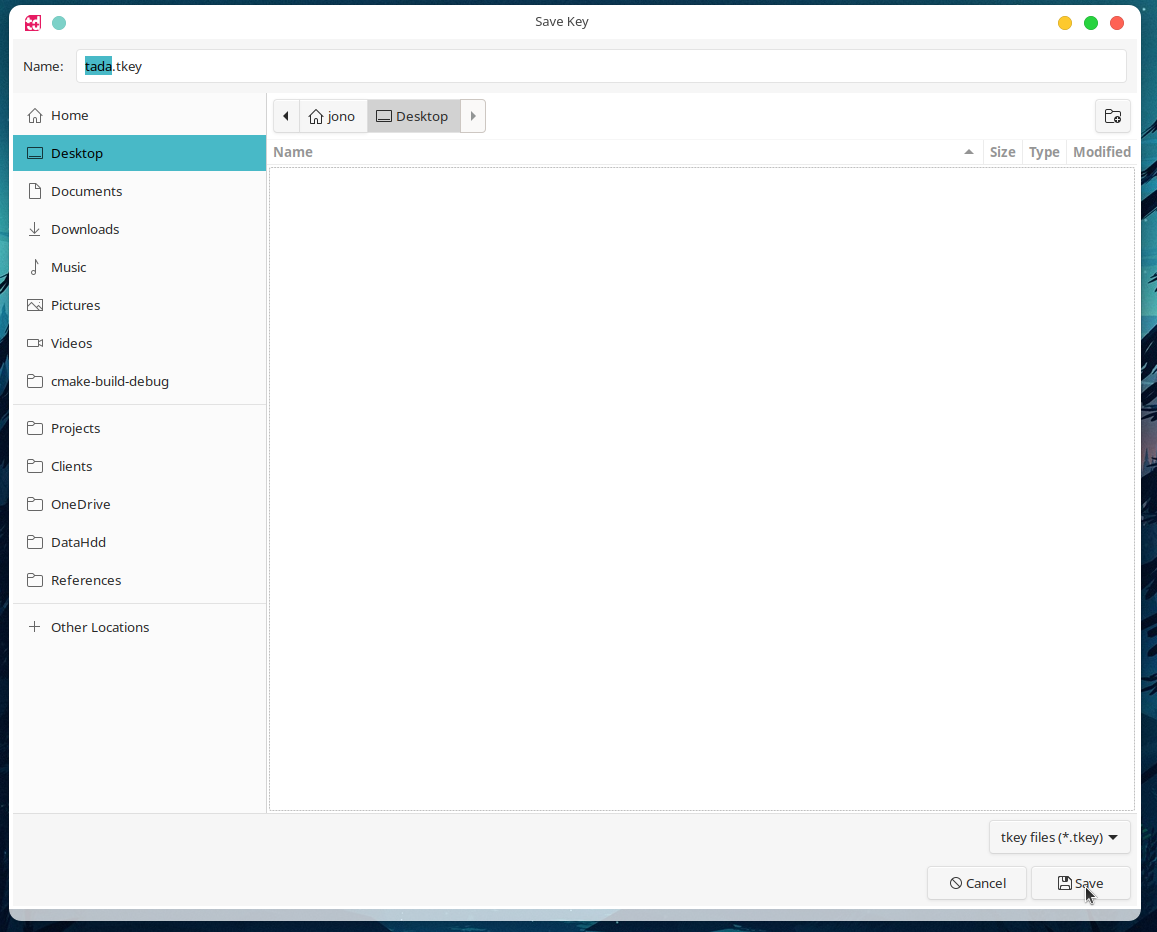

This will create a “.tkey” file, in this example we will save it as “tada.tkey”. This is the file that you will use to add users to client devices.
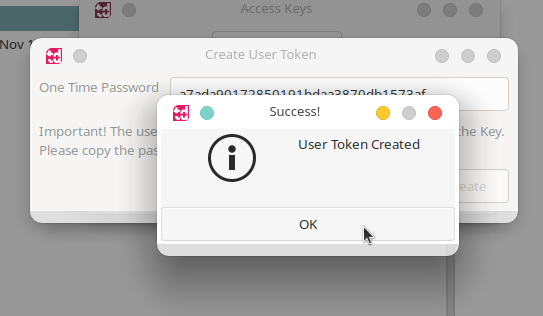
A “Success” or “Failed” window will open, click “OK” to continue.

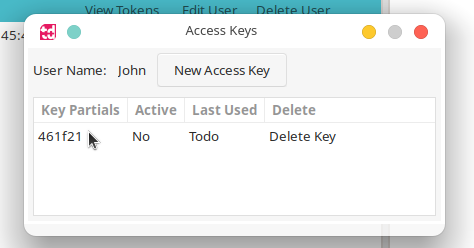
You will now see the new Token in the “User Tokens” window. It will be shown as not Active as it has just been created and has not been activated on a client device yet.

Deleting A User Access Token
To delete a user token, Click on the “View Tokens” button under the “Users” tab in the dashboard.


A new “User Tokens” window will open.


Click in the “Delete Key” button and confirm the deletion.
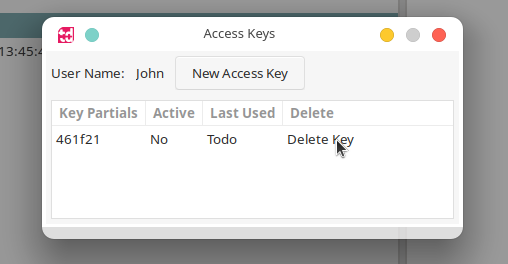

The Token will now be deleted and the device accosted with that token can’t connect anymore.