New Company Wizard
Welcome Page
The new company wizard is used to quickly get your company up and running.
It guides you through setting up the most important settings you will need to set to get started using Tada.
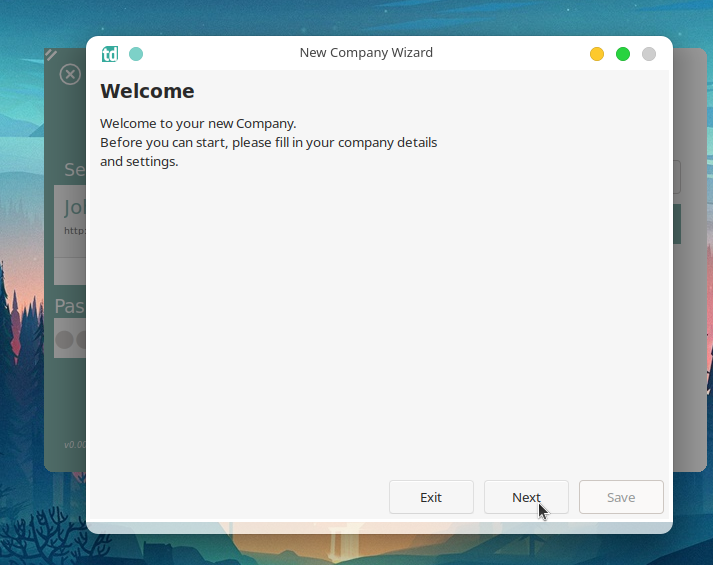

- The first page you will see is the “Welcome” page, we will click next to continue the setup.
Company Details Page
The second page you will see is the company details page, Inputs marked with a * are required in order to continue to the next page. We will fill the following details:
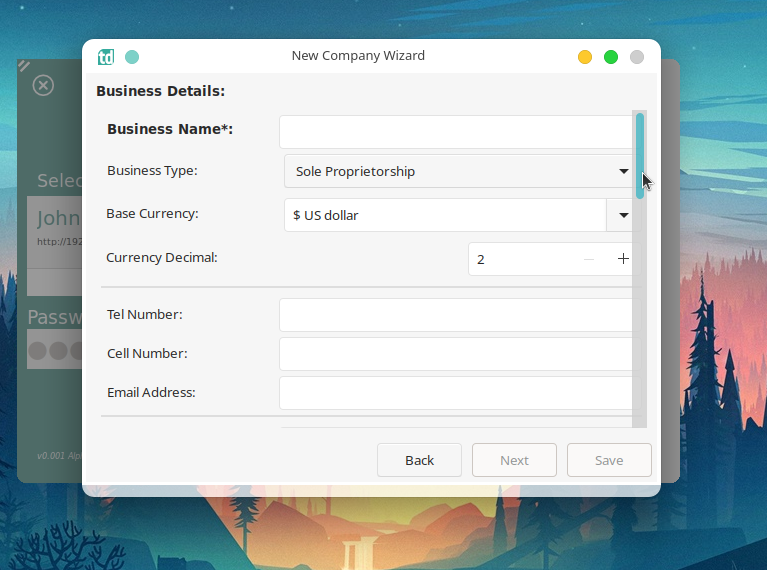

- Business Name - The name of the business, This will be used on reports, quotes, invoices etc.
- Business Type - The Legal type the business is registered as, eg Sole Proprietorship, LTD etc.
- Base Currency - The main currency the business uses.
- Currency Decimal - Fiat currencies use 2 decimals (cents), but you can change it if need be.
- Tel Number - The companies main landline number, will be used on quotes, invoices etc.
- Cel Number - The companies main Cellphone number, will be used on quotes, invoices etc.
- Email Address - The companies main email address, will be used on quotes, invoices etc.
- Tax Number - The companies Tax number. This is mainly used only for Sole Proprietors
- Registration Number - The companies registration number.
- Vat Number - The companies registered Vat number.
- First Tax Period End Date - The last day in which the companies must submit its first Tax payment.
- Current Financial Year Start - The first day of the companies current financial year.
- Tax Period Frequency (Months) - How often does the company have to supply and pay tax. Default is every 6 months (twice a financial year).
- Business Logo - upload the business logo, will be used on quotes, invoices etc.
- Business Address Section - Fill in the desired company address. This will be used on quotes, invoices etc.
- Postal Address Section - Fill in the desired postal address. This will be used on quotes, invoices etc.
Tax Settings Page
Here you can set the type of Tax system the company uses as well as create all the tax types to use.
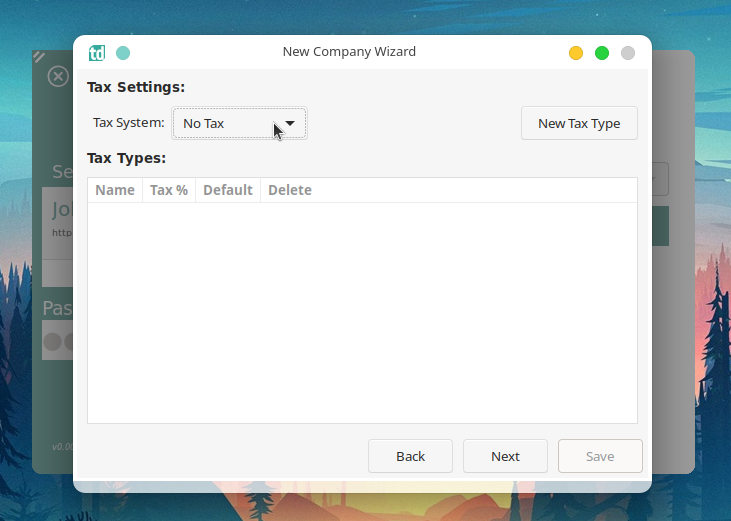

To add a “New Tax Type”. Click on the “New Tax Type” button. A window will open were you can fill in the details of the tax type.
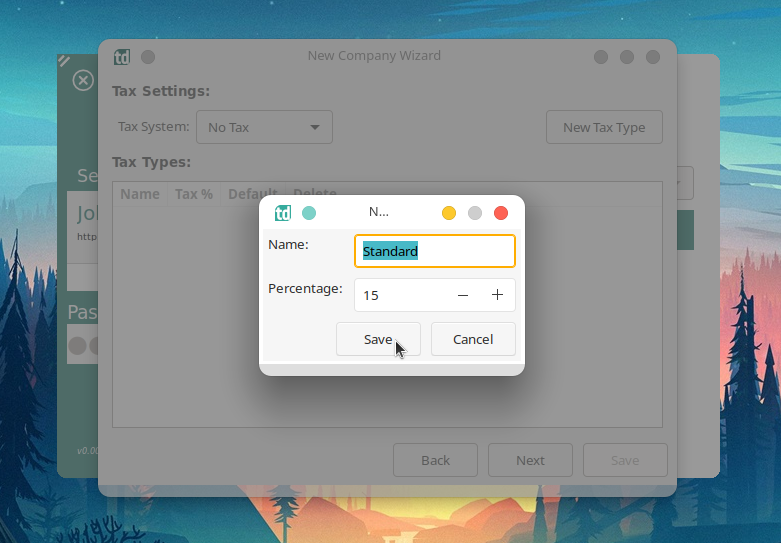

Click the “Save” button to continue.
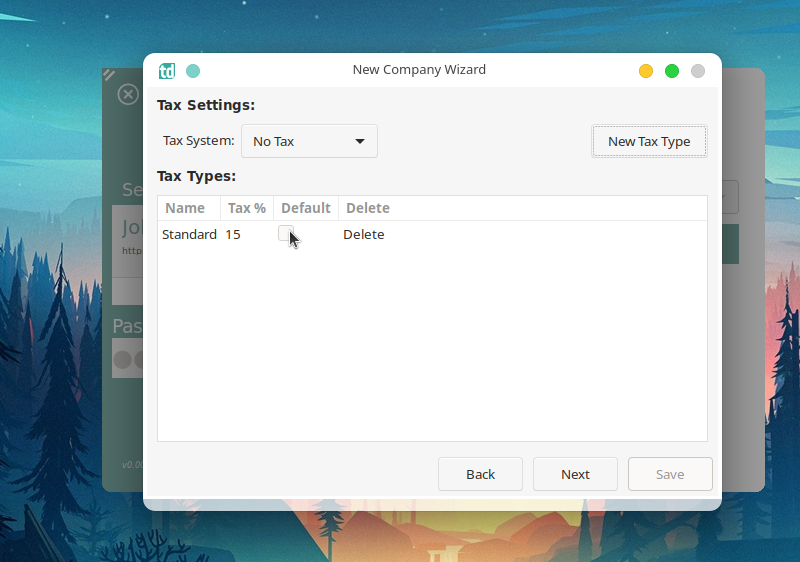

To set the tax type as the company default, simply enable the “Default” check box of the desired tax type.
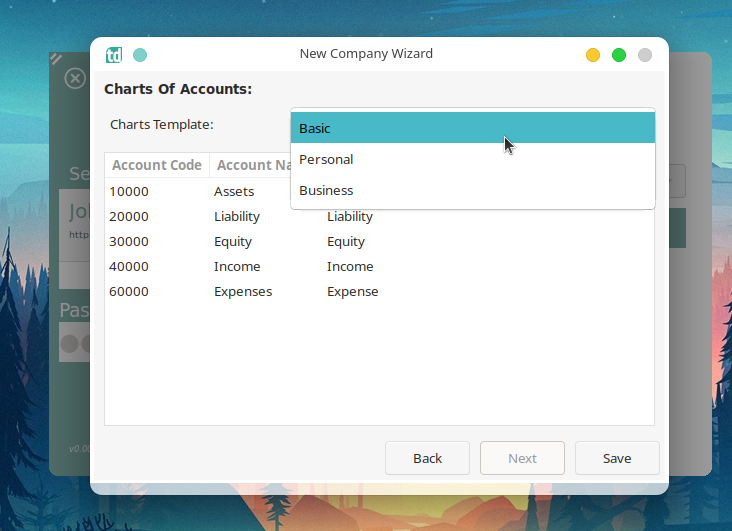
Charts Of Accounts Page
Here you can choose the Charts of accounts you will start with. There are three templates to choose from:
