Installation
Windows
PostgreSQL Installation
Tada server uses PostgreSQL as the database to store all data, we will need to first get that up and running before we can install Tada Server.
It is a very quick and easy process.
If you already have a PostgresSQL instance on your network, you can skip this step.
- First we will need to download the latest Windows version from PostgreSQL website:
https://www.enterprisedb.com/downloads/postgres-postgresql-downloads
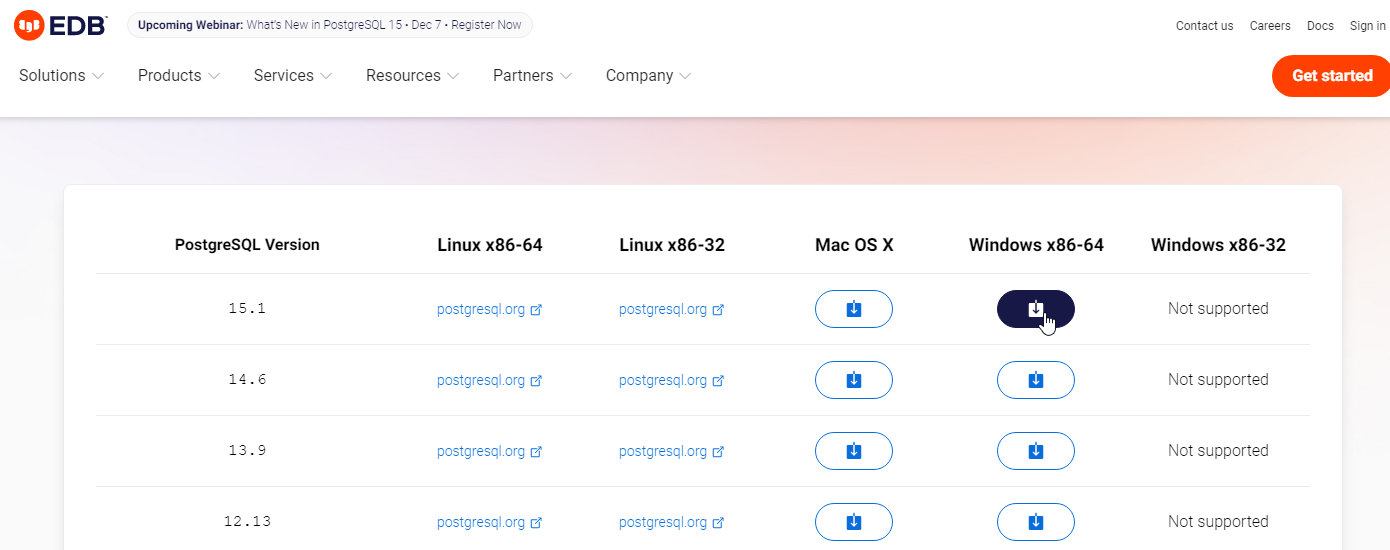

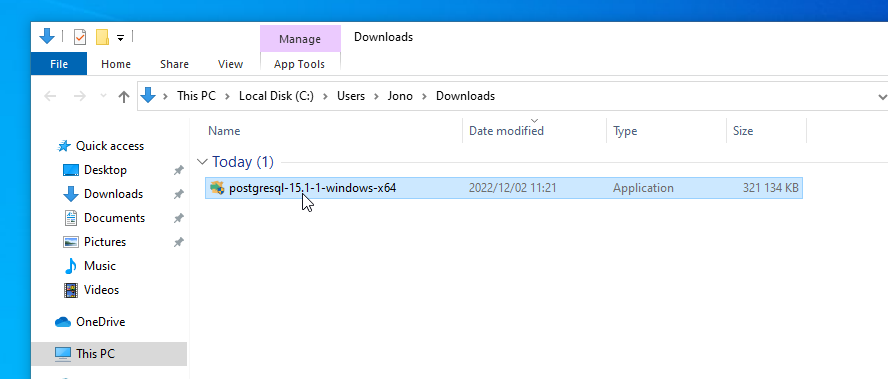
- Once downloaded, run it to begin the installation.
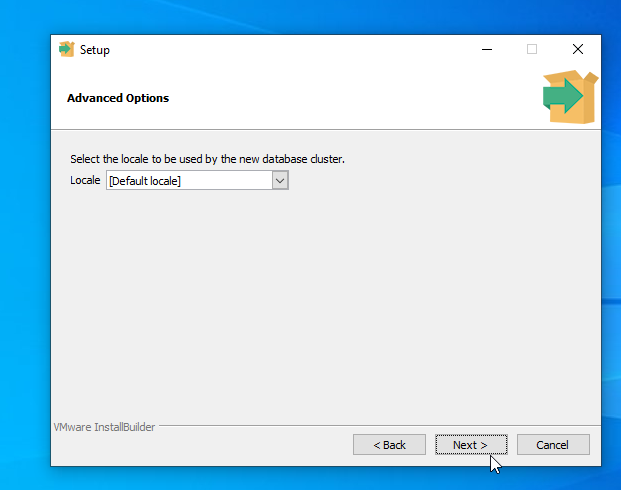
Follow the steps, we will leave all the options to their default.

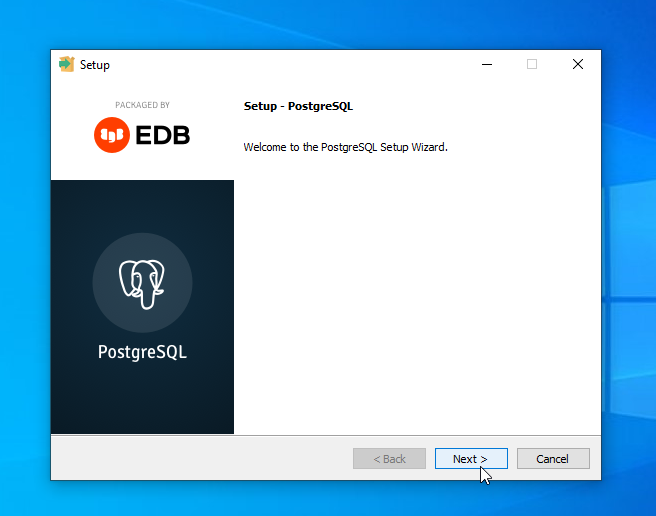

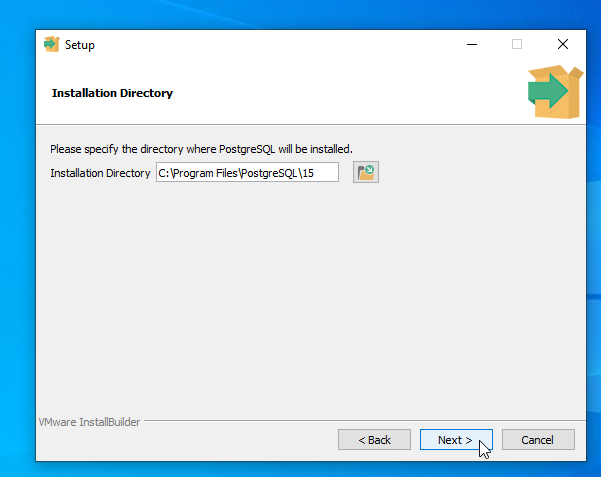

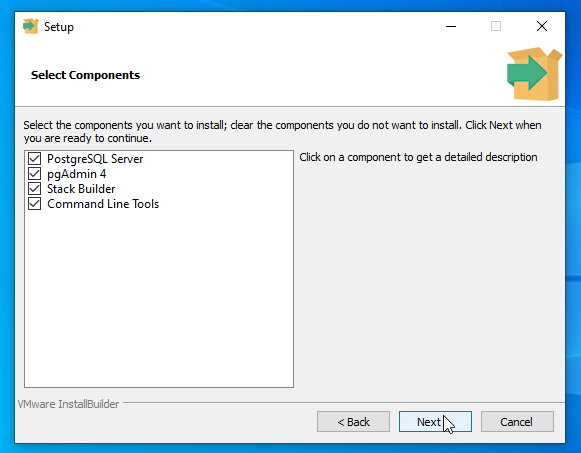

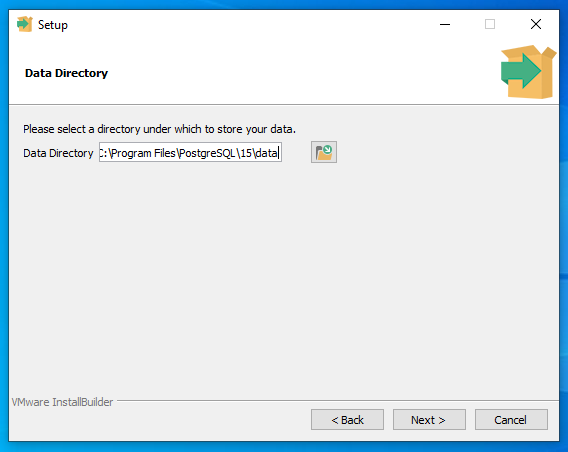

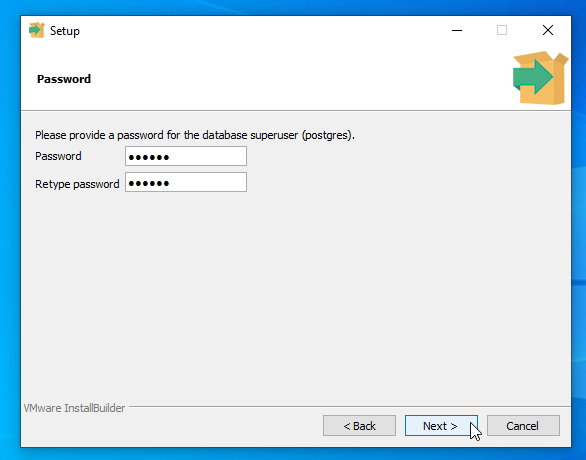
Make sure to use a secure long password that you will remember.

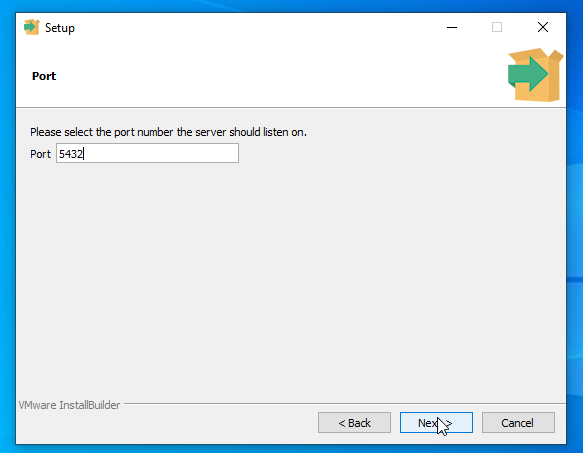
We will leave PostgreSQL to listen to connections using the default port of 5432


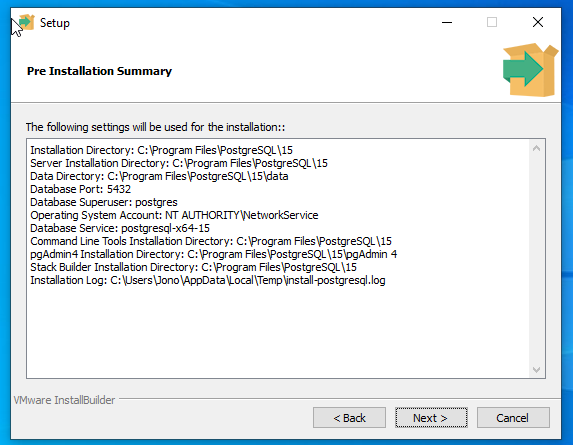

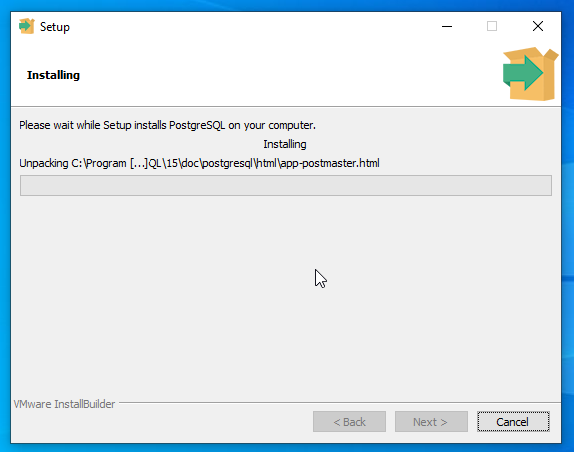

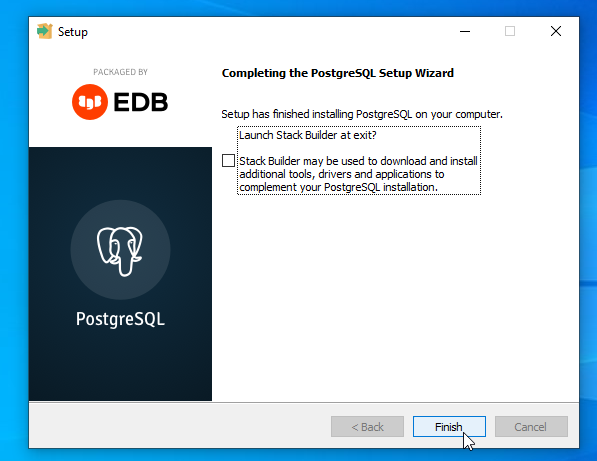

well-done, we now have a working PostgreSQL instance running and ready for us to use. - For more information on PostgreSQL you can visit the following site to view the PostgreSQL documentations:
https://www.postgresql.org/docs/
PostgreSQL User Setup
It is not advisable to use the master / root PostgreSQL user for creating connections to the database.
We will create a new user that we will use for Tada Server connections:
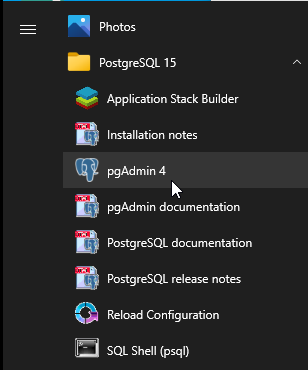
- Open the “pgAdmin 4” application. You can find it under the “PostgeSQL” folder in the application / start menu.

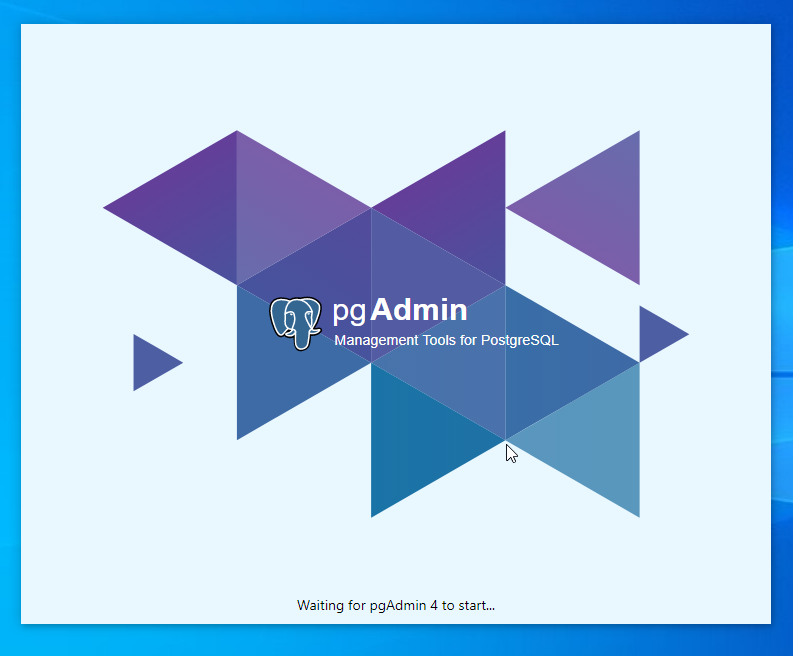
It can take a little while to start up and load.

- We will be asked to create a “Master password” to protect the pgAdmin application.
Create a strong password you will remember.
Please note this password will be used for pgAdmin only.
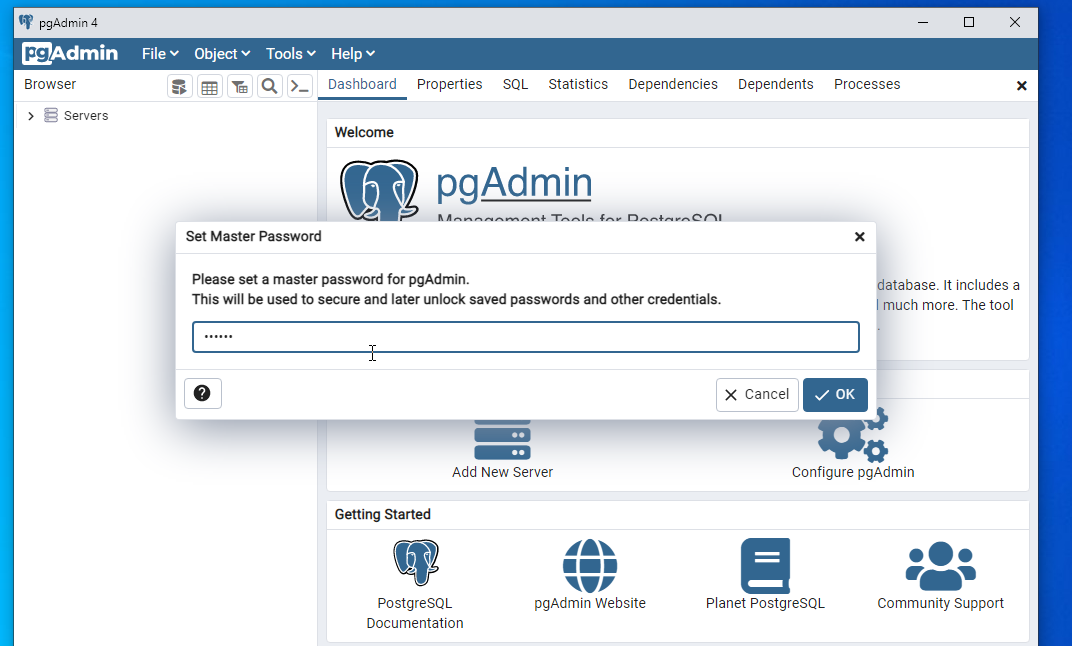

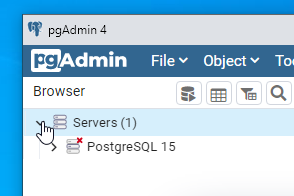
Click the “OK” button to confirm the passwod you want to use. - On the left panel, we will see the server browser panel. Here you can manage and see all the databases on our PostgreSQL instance.
Click on the “Servers” tab to see the databases.

- We will be asked for the “postgres” user password.
It will the the password that you created when installing PostgreSQL.
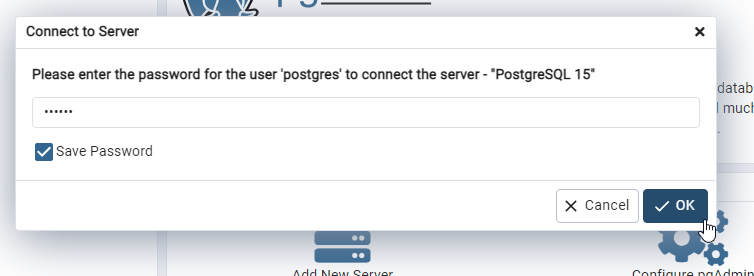

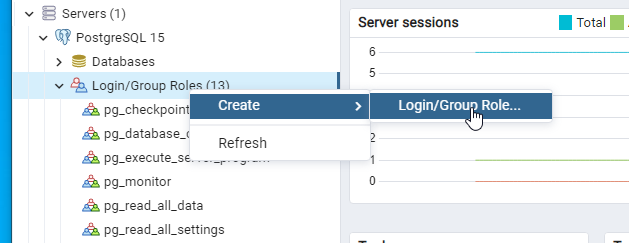
We can tell pgAdmin to “Save Password” so that we don’t need to enter it every time we need to work on the databases via pgAdmin. - Right click on the “Login/Group Roles” option.
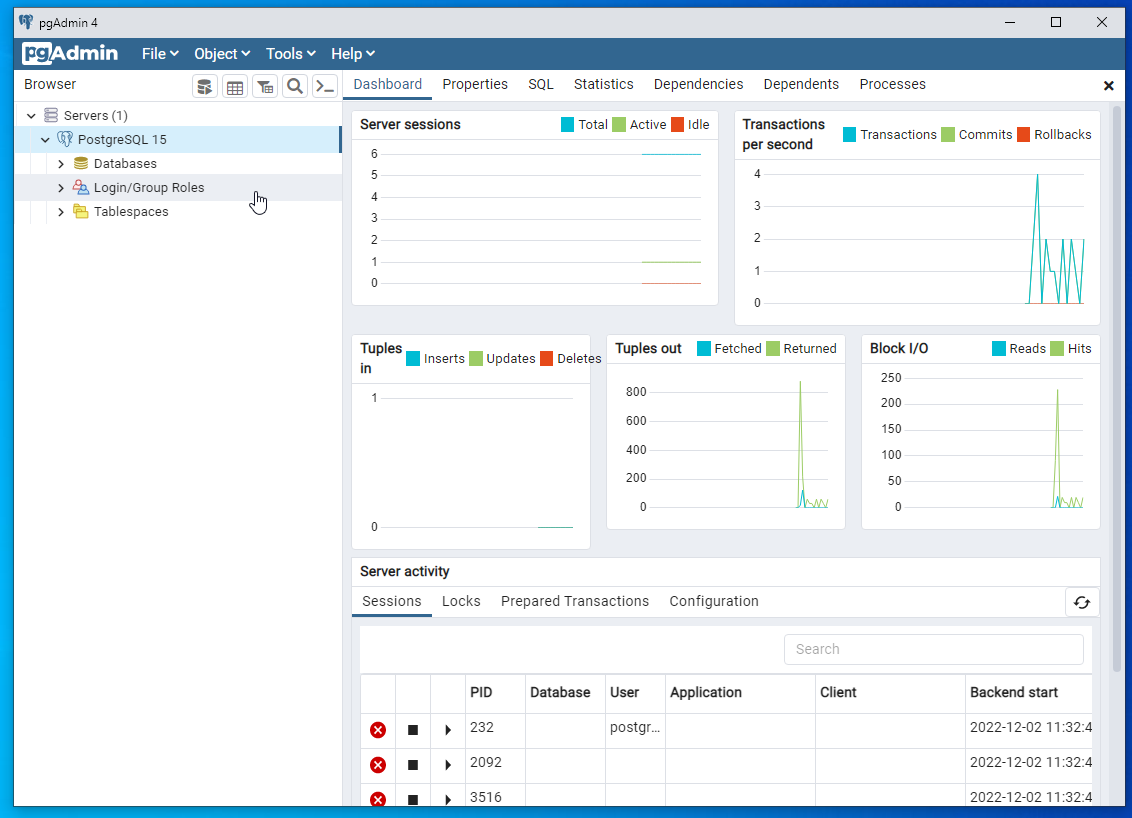

- Under the “Create” menu, Select the “Login/Group Roles” option.
A new window will open.

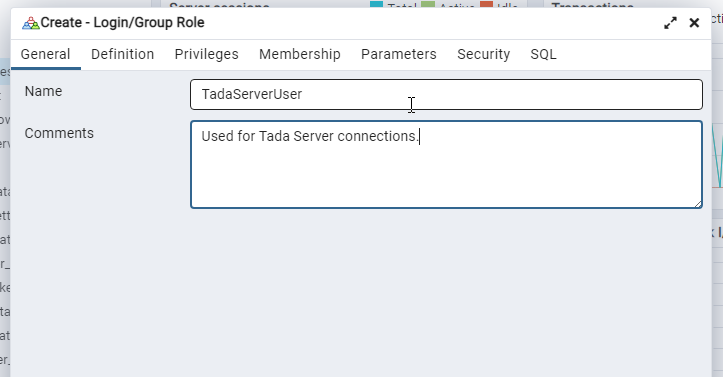
- Fill in the name of a user you would like to use and add a description to help escribe wat the user is for.

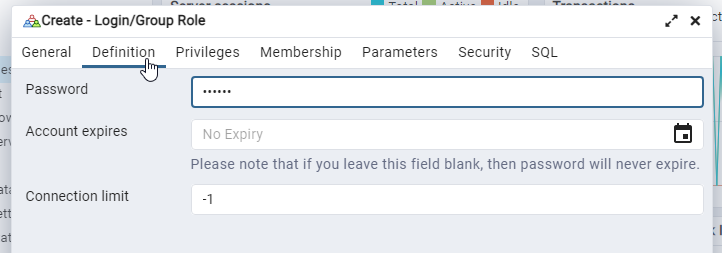
- Next, under the “Definition” tab. Fill in the password you would like to use for the user.

- Next, under the “Privileges” tab. Turn on the switches to match the image below.
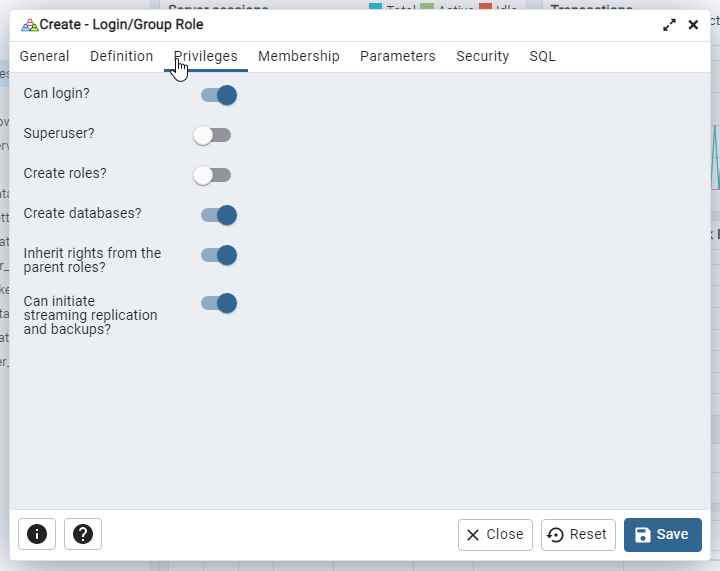

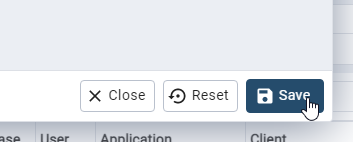
- Click on the “Save” button to complete the new user creation.

- We will close the pgAdmin application as it is not needed anymore.
Well-done, we have completed setting up PostgreSQL.
Tada Server
- Download the latest version of the “Tada Server” application from the following:
https://tada.center/ - Once downloaded, run it to begin the installation.
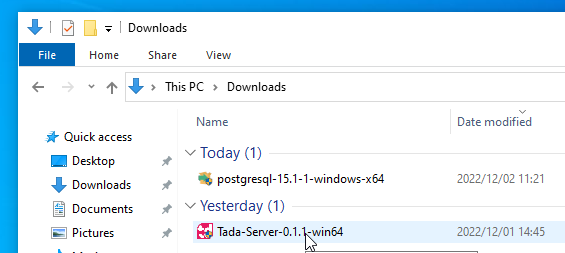

- Follow the steps. We will leave all the settings at their defaults
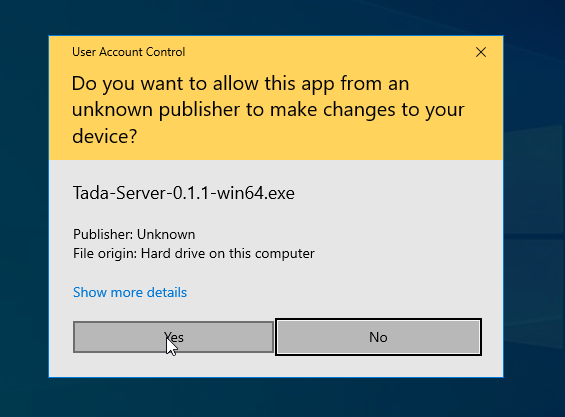

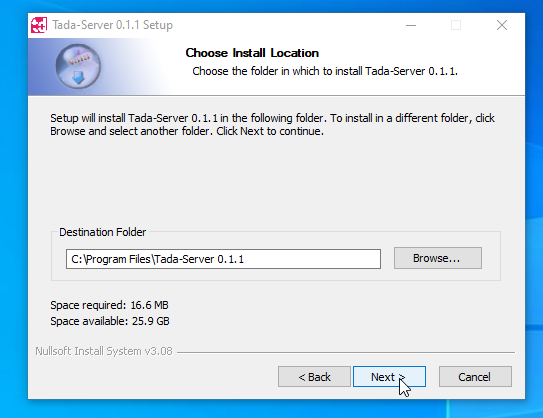

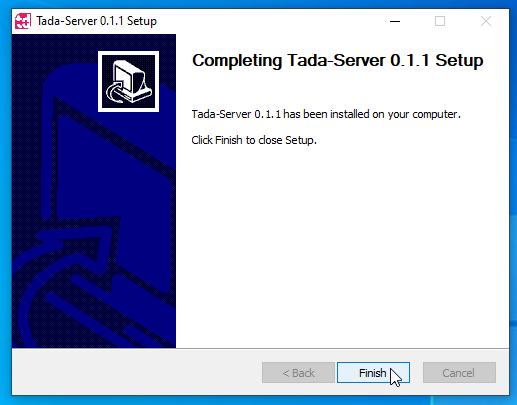

- Nice, Tada Server is now installed.
To see how to setup Tada Server. See the following guide:
server-settings - From here you will need to add some firewall rules to allow Tada Clients to communicate to it.
Follow this guide to see how to achieve this:
Firewall Setup Guide
Ubuntu / Debian based distros
PostgreSQL Installation
The best way to install PostgreSQL is to follow the steps on the official PostgreSQL website:
https://www.postgresql.org/download/linux/ubuntu/
But you can do the following in the terminal (These steps are taken directly from the above link):
- Create the file repository configuration:
sudo sh -c 'echo "deb http://apt.postgresql.org/pub/repos/apt $(lsb_release -cs)-pgdg main" > /etc/apt/sources.list.d/pgdg.list'- Import the repository signing key:
wget --quiet -O - https://www.postgresql.org/media/keys/ACCC4CF8.asc | sudo apt-key add -- Update the package lists:
sudo apt-get update- Install the latest version of PostgreSQL.
sudo apt-get -y install postgresql- Set “postgres” user password. First login to postgres in the terminal:
sudo -u postgres psql- Set the password for the user.
ALTER USER postgres PASSWORD 'myPassword';Tada Server
- Download the latest version of the “Tada Server” application from the following:
https://tada.center/
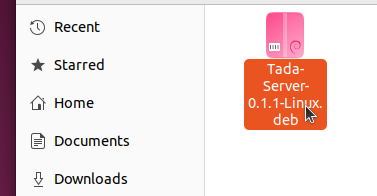

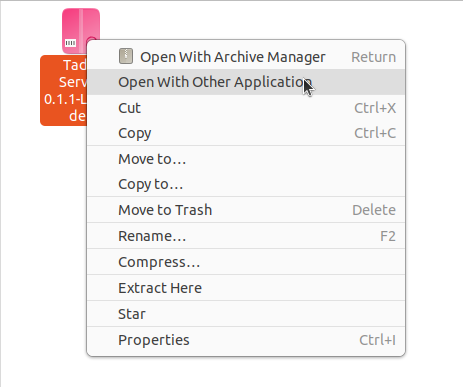
- Right click on the files and chose the “Open With Other Application” option.

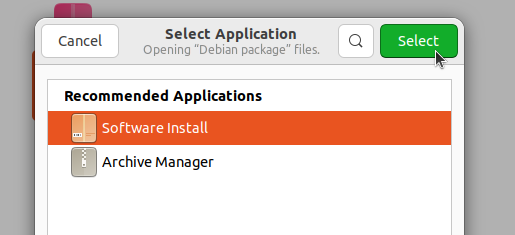
- Chose the “Software Installer” option, then click on the “Select” button.

- Click on the “Install” button.
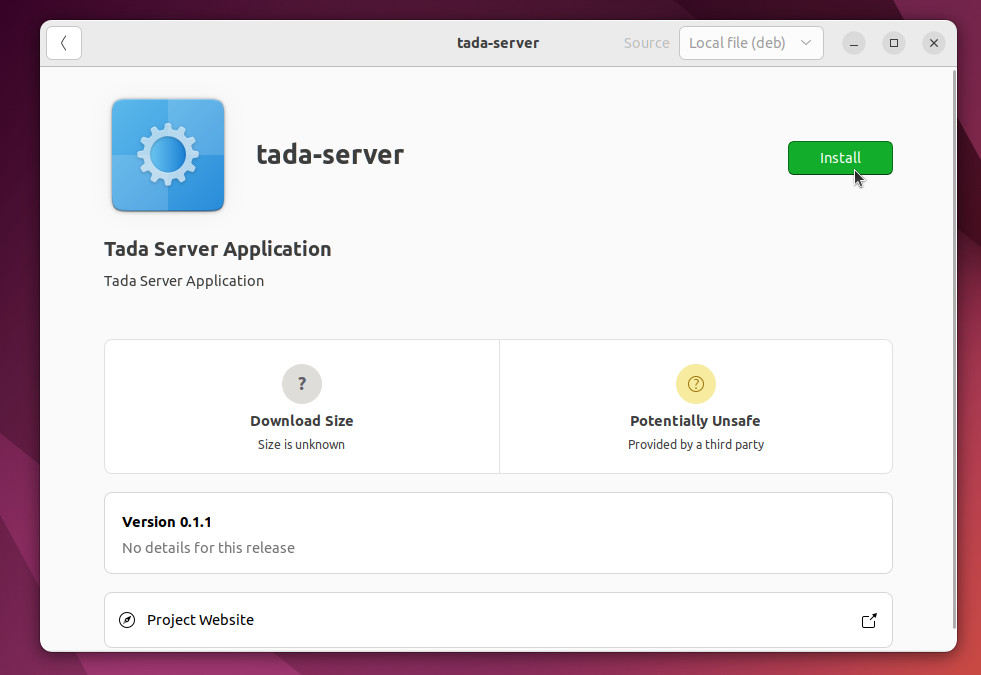

- Nice, Tada Server is now installed. you can now open Tada Server in the “Application” menu
MacOS
PostgreSQL Installation
Tada server uses PostgreSQL as the database to store all data, we will need to first get that up and running before we can install Tada Server.
It is a very quick and easy process.
If you already have a PostgresSQL instance on your network, you can skip this step.
- First we will need to download the latest Windows version from PostgreSQL website:
https://www.enterprisedb.com/downloads/postgres-postgresql-downloads
2.Once downloaded open the file and double click on the “.app” file to start the installation.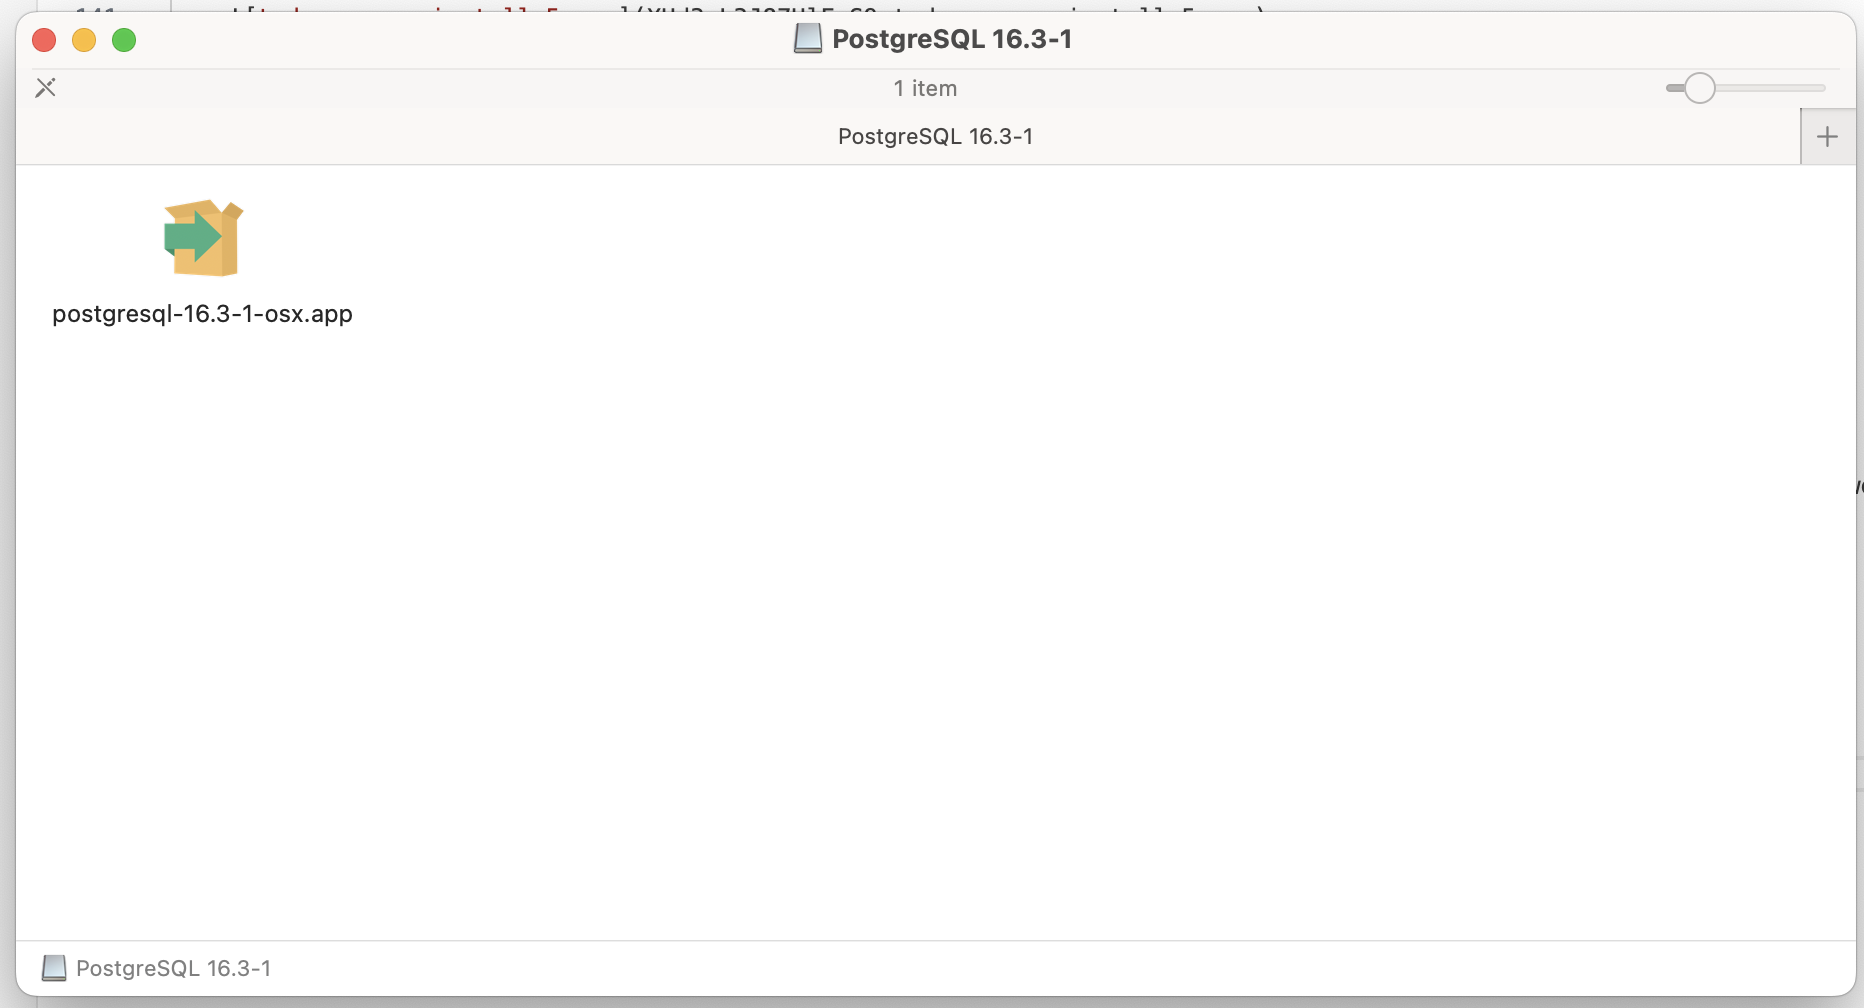

- You will be asked to input your password as PostgreSQL Installer needs that in order to install.
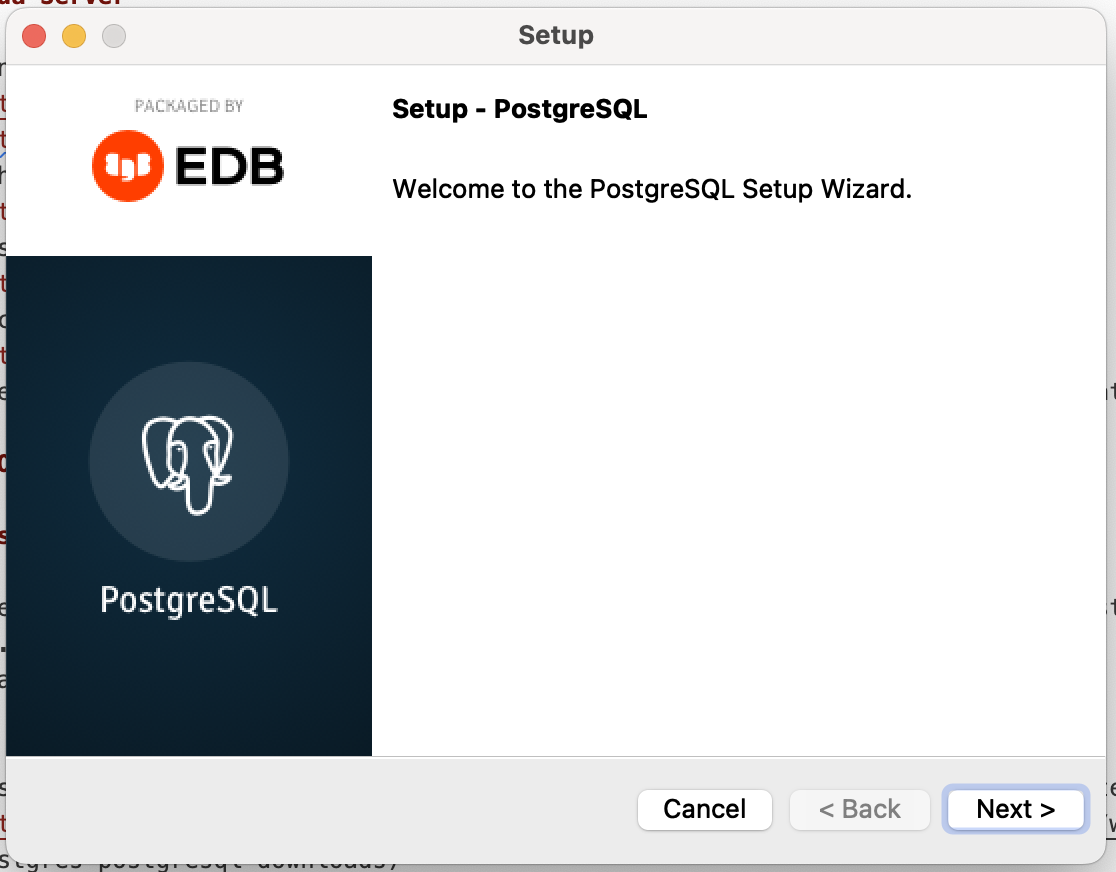
- Follow and go through the prompts to do the installation.

PostgreSQL User Setup
Follow the same steps that are used on the “Windows” guide above to create your PostgreSQL user.
Tada Server
-
Download the latest version of the “Tada Server” application from the following:
https://tada.center/ -
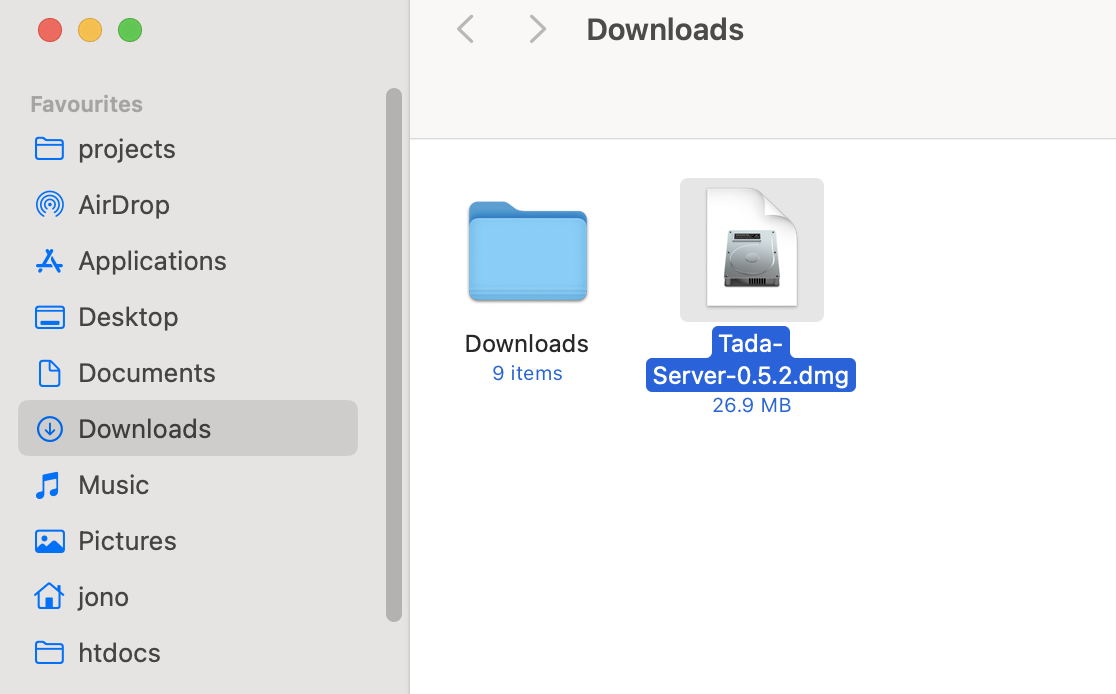
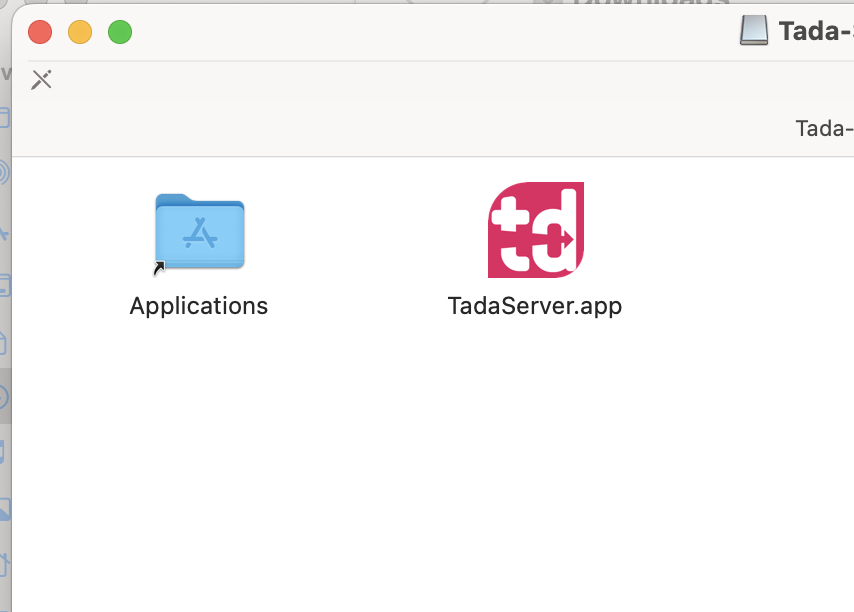
Drag and drop the “TadaServer.app” file on the “Applications” folder next to it. You have completed the installation, you will find the “TadaServer” app in your “LaunchPad”.

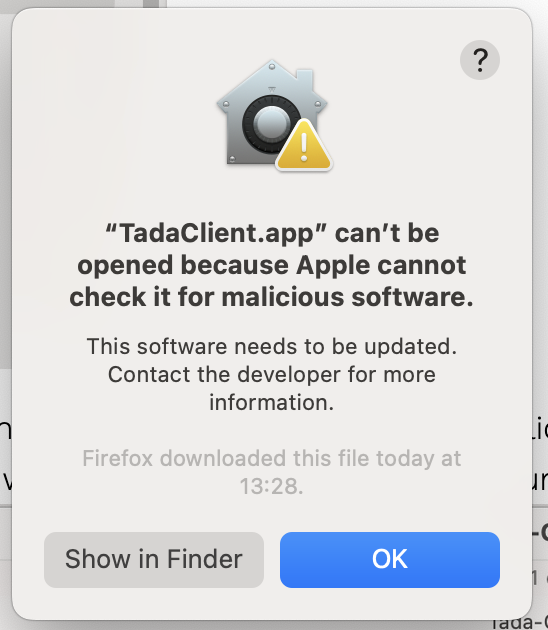
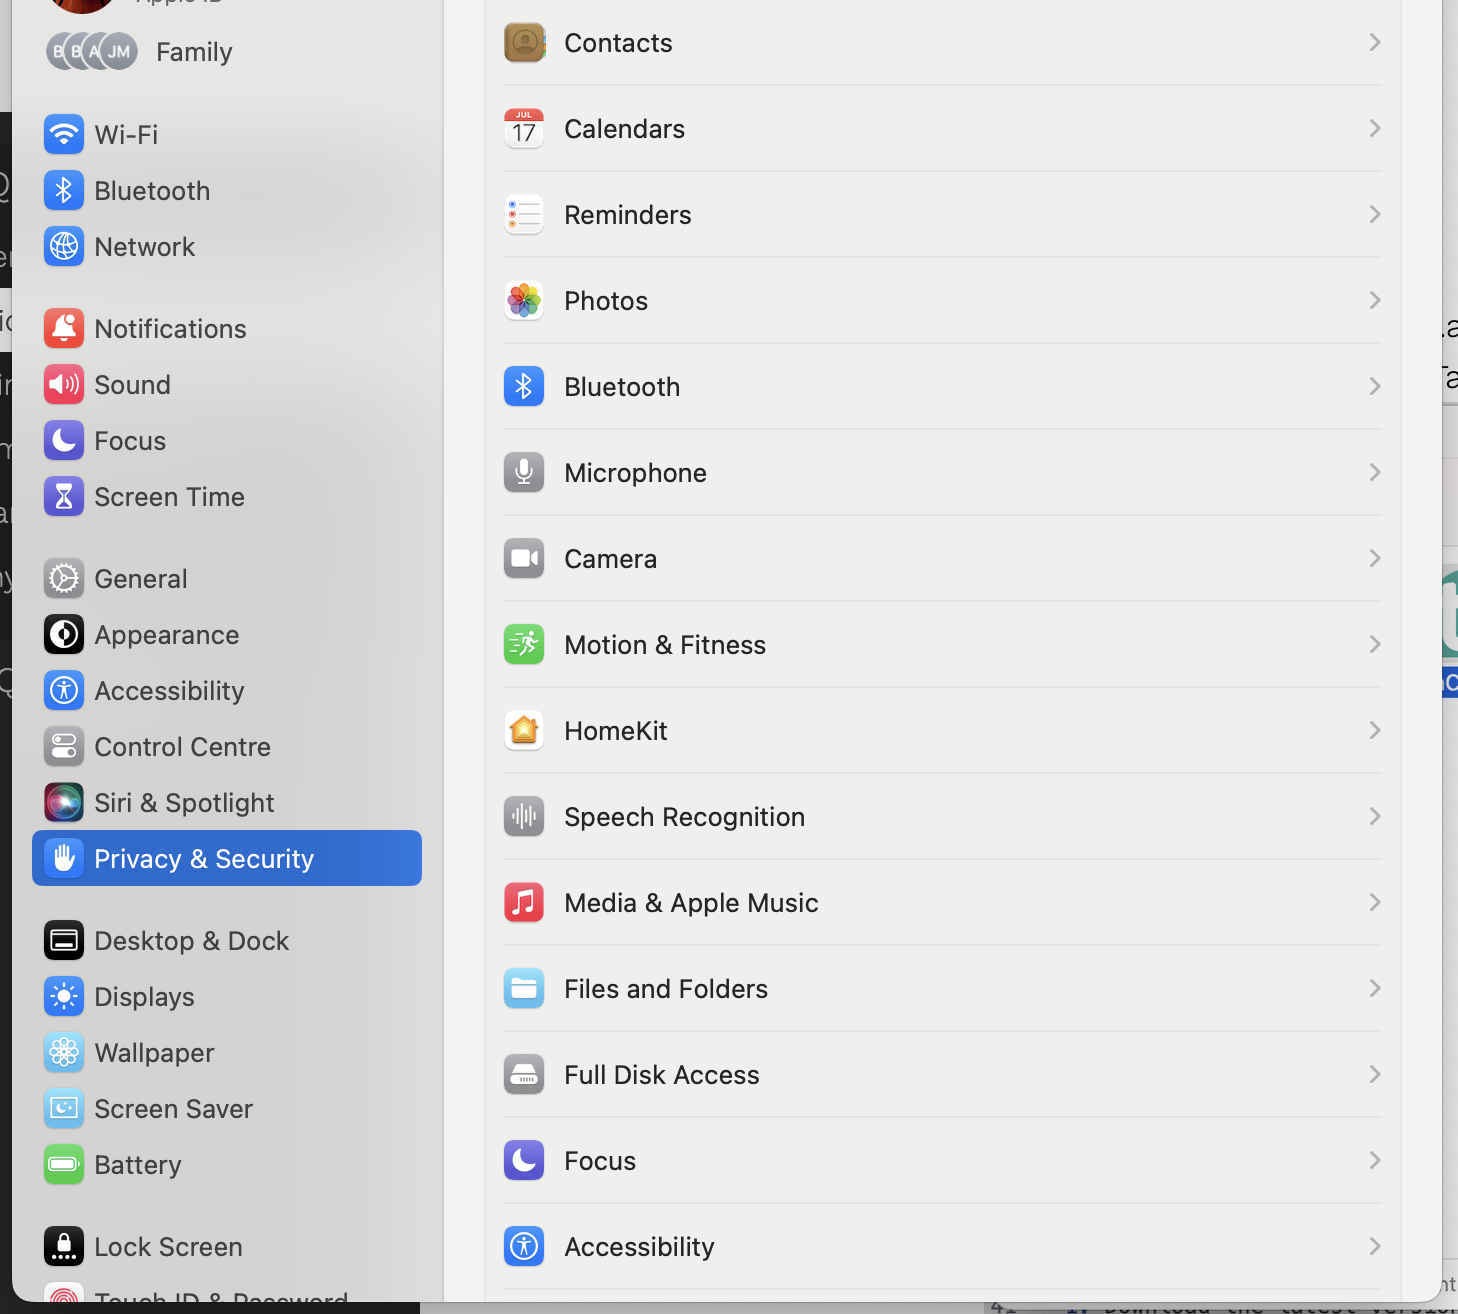
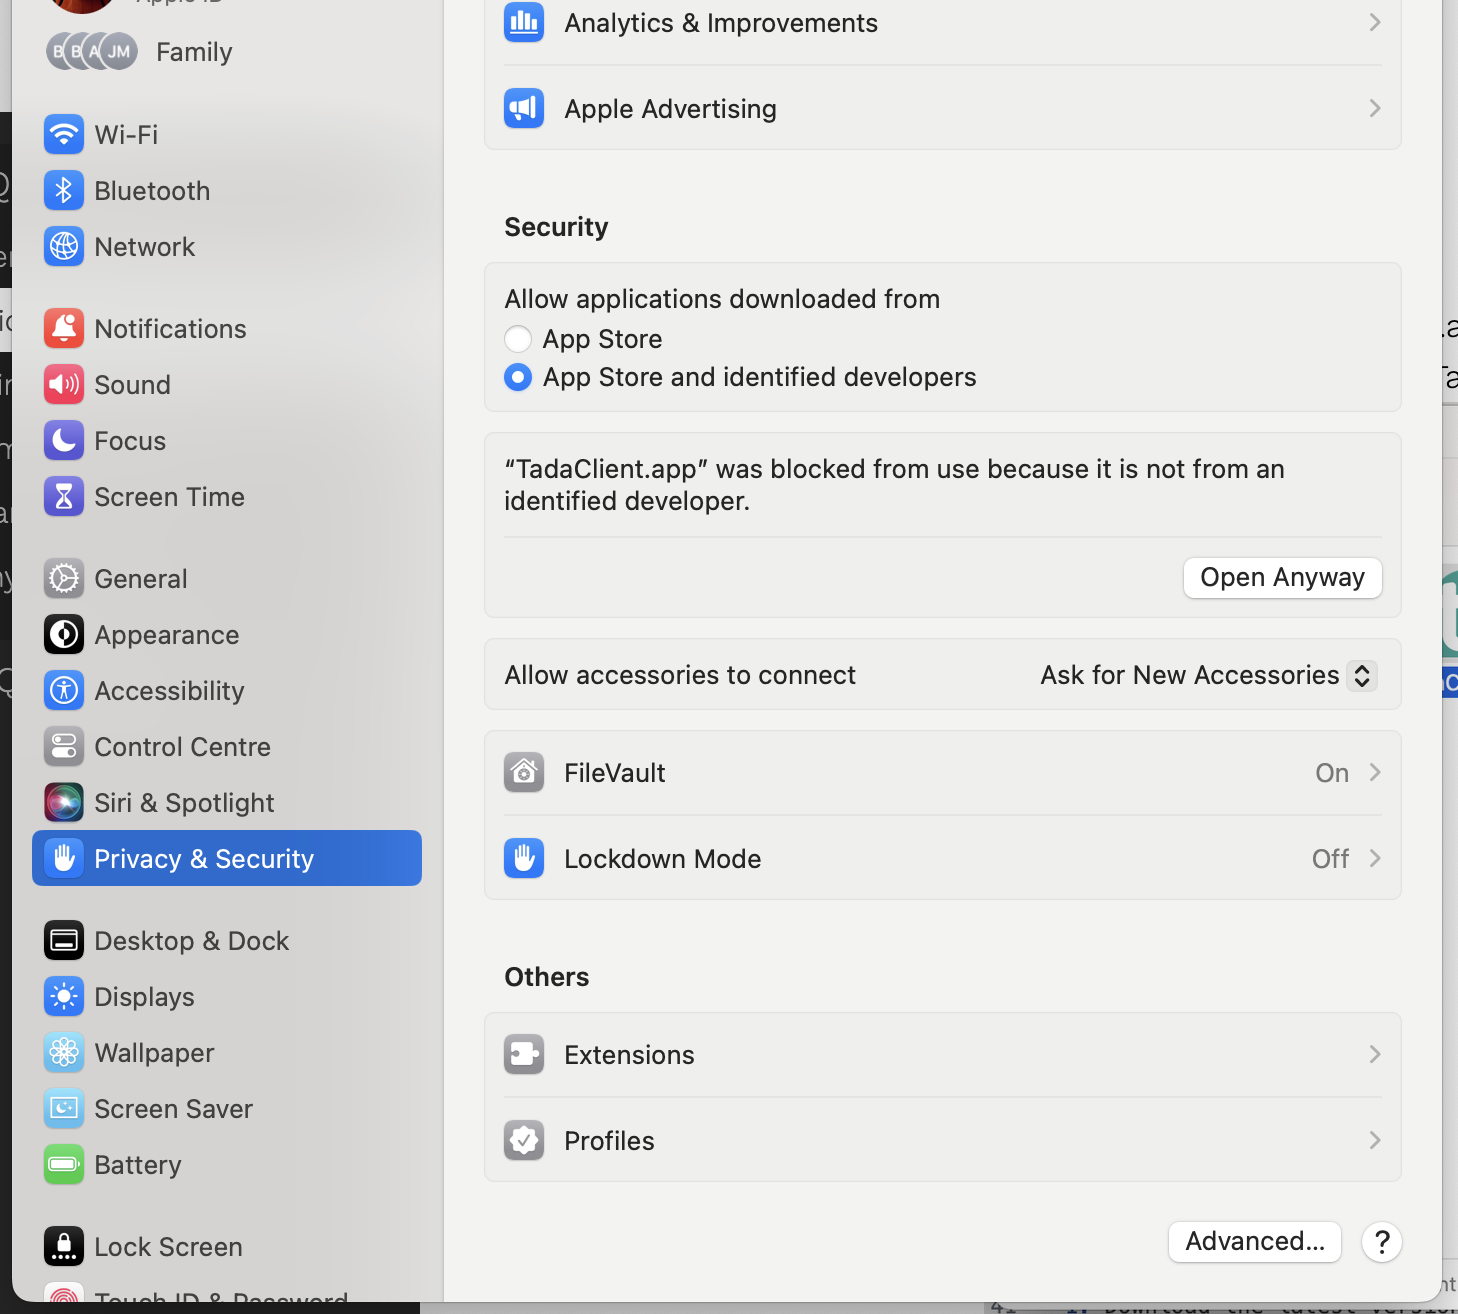
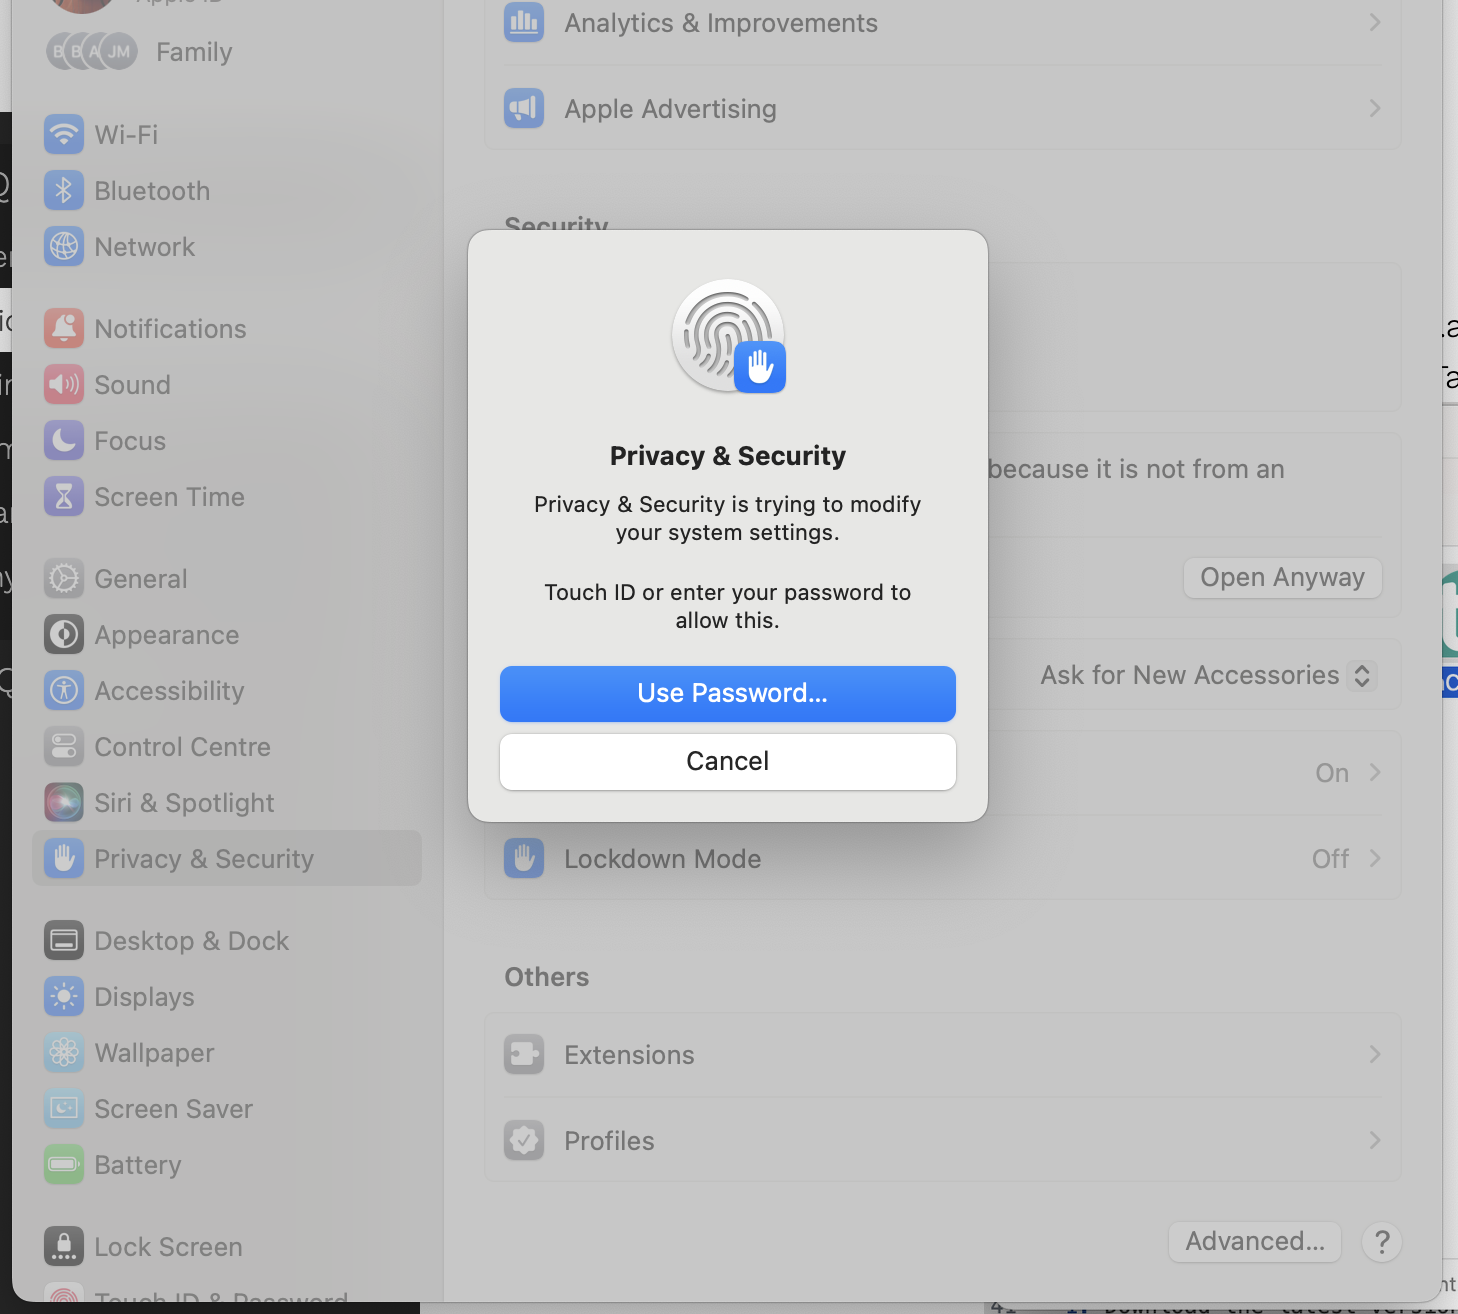
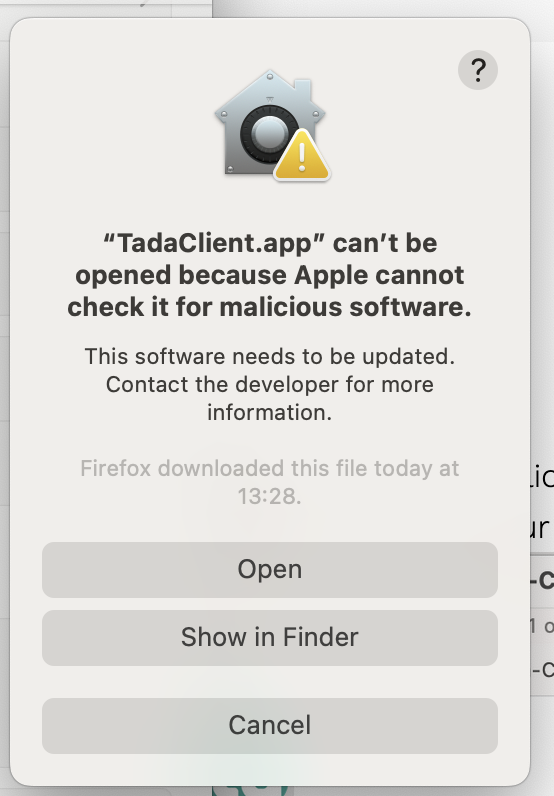
If you run into an issue where MacOS blocks you from opening the application.
You can do the following:
